Recipe - Salesforce/Clockify integration
Clockify is a popular time tracking solution.
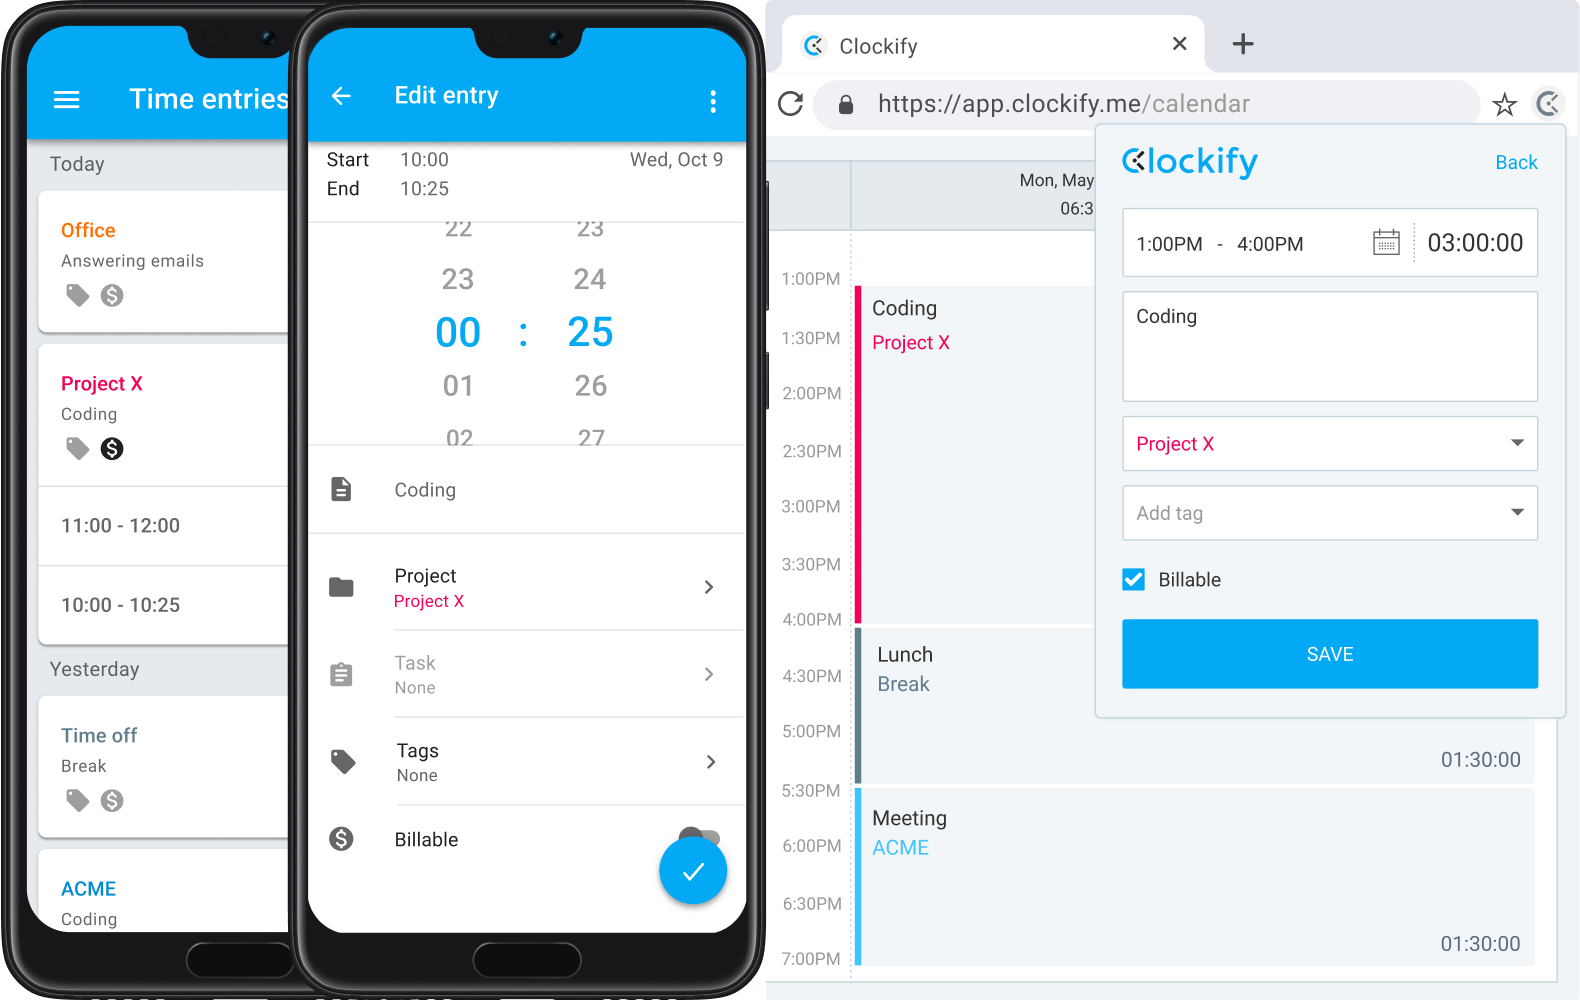
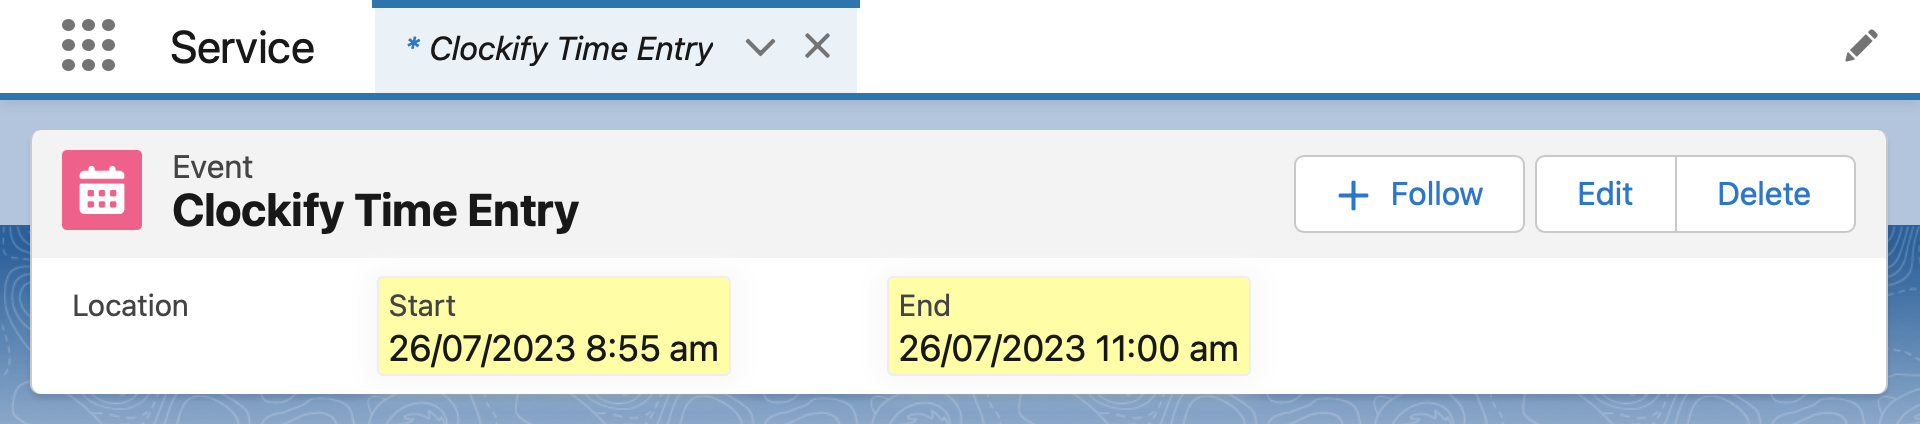
This integration uses a webhook to capture Time Entry events from Clockify and create corresponding Events in Salesforce with start and end times.
This recipe covers the integration in three steps.
| Recipe |
|---|
| Step 1 - In Salesforce Flow, create the inbound webhook handler Step 2 - In Clockify, create the outbound Time Entry publisher Step 3 - Test the integration by recording some time in Clockify |
Step 1 - Create the inbound webhook in Salesforce Flow
To secure the webhook endpoint, first create a Custom Metadata Type using protected records. This is the recommended best practice for storing the Clockify secret.
- Go to Setup > Custom Metadata Types > New > Name: Clockify, then click Save
- Go to New Custom Field > Data Type: Text, Length: 255, Name: Secret, then click Save
Now prepare the Flow to handle the webhook:
- Follow the site setup video if you haven't already got a Site configured.
- Go to the Streamscript app > Integrations tab > click New Webhook Flow
- Add a Get Records element, with Name: Clockify_mdt, and Filter: None (Get All Records)
- How Many Records to Store: Only the first record, Automatically store all fields
- Add a Streamscript action, with Name: Webhook
- Paste in below script then click Done
# Streamscript
$secret = $Webhook.requestHeaders.Clockify-Signature
if ($secret != {!Clockify_mdt}.Secret__c) {throw 'Bad Signature'}

# Parse the Clockify payload
$request = Json-Decode $Webhook.request

# Convert the TimeEntry to an Event
$Event = New-Event
$Event.Subject = 'Clockify'
$Event.StartDateTime = $request.timeInterval.start
$Event.EndDateTime = $request.timeInterval.end
return $Event
To ensure the request is genuine, first read the Clockify secret from the webhook header, then compare it with the secret in custom metadata.
The script returns an event containing time entry data. Add a step to save the data:
- Add a Create Records element, with Name: Save_Event
- Set Create a Record from These Values to the
Webhook > recordoutput - Click Done
Here is how the flow looks. To make sure the Site Guest User can insert the event record, go to Flow Properties > Advanced > How to Run the Flow: choose System Context Without Sharing.
Save the flow with the API Name: Webhook_Streams_Clockify
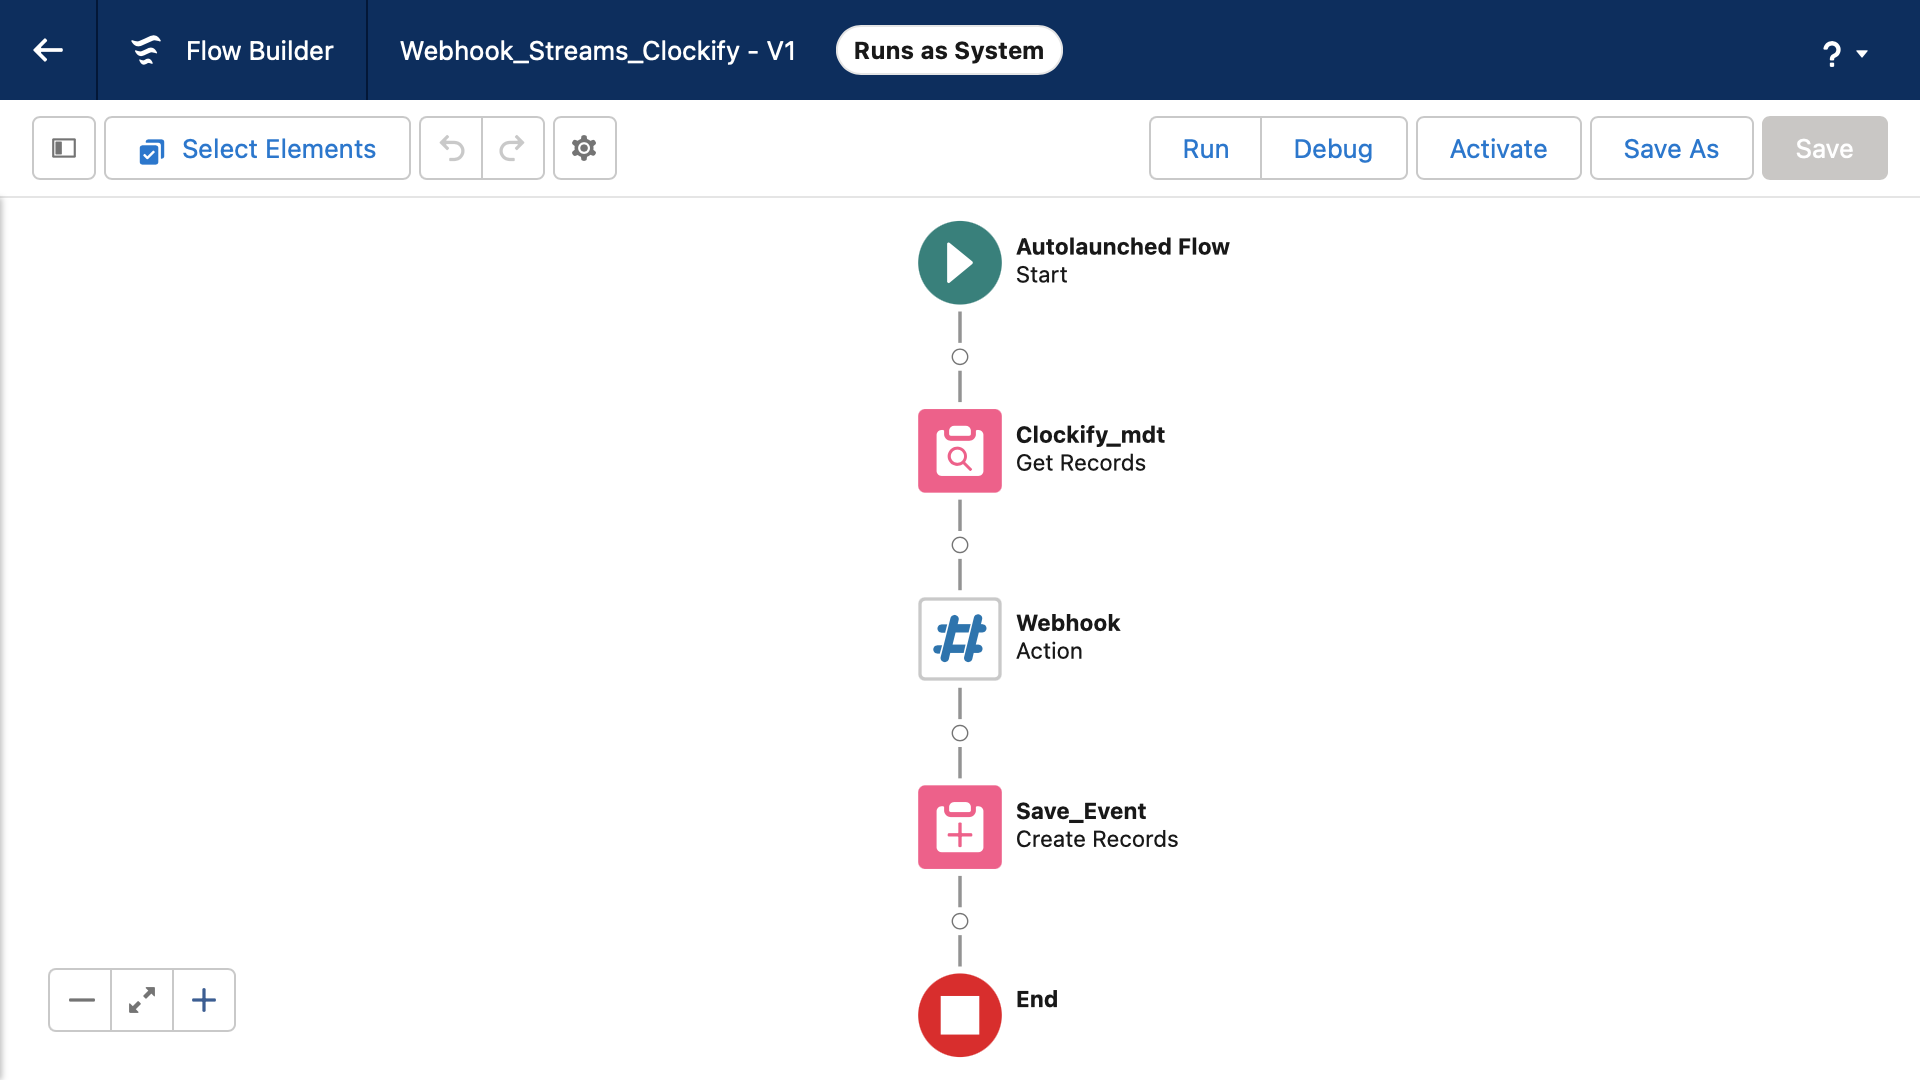
Note that the Flow API Name follows this three-part naming convention: Webhook_SiteName_PathSuffix
- Click Activate
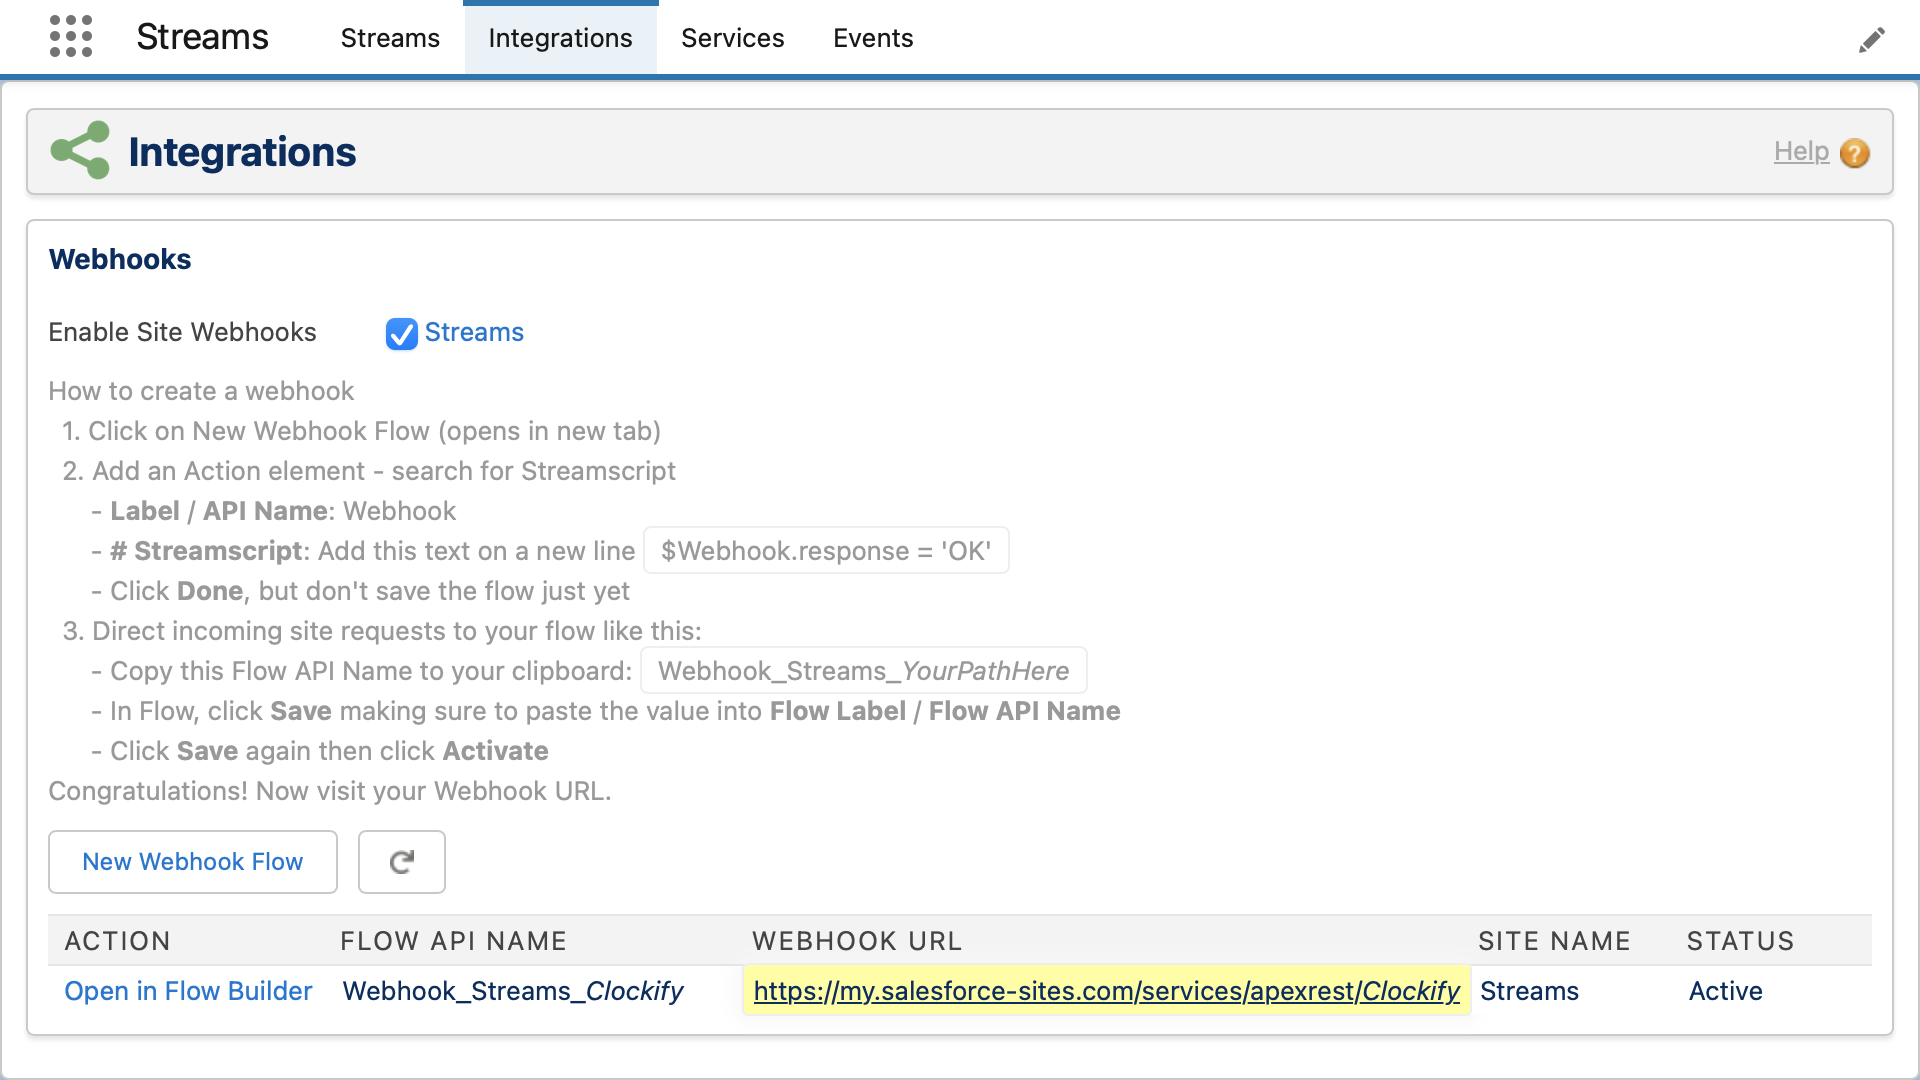
- Go to the Streamscript app > Integrations tab
- Find the Webhook URL and then Copy it to the clipboard. It's ready to receive!
Step 2 - Configure the outbound webhook in Clockify
- Sign up for a free Clockify Account if you haven't already
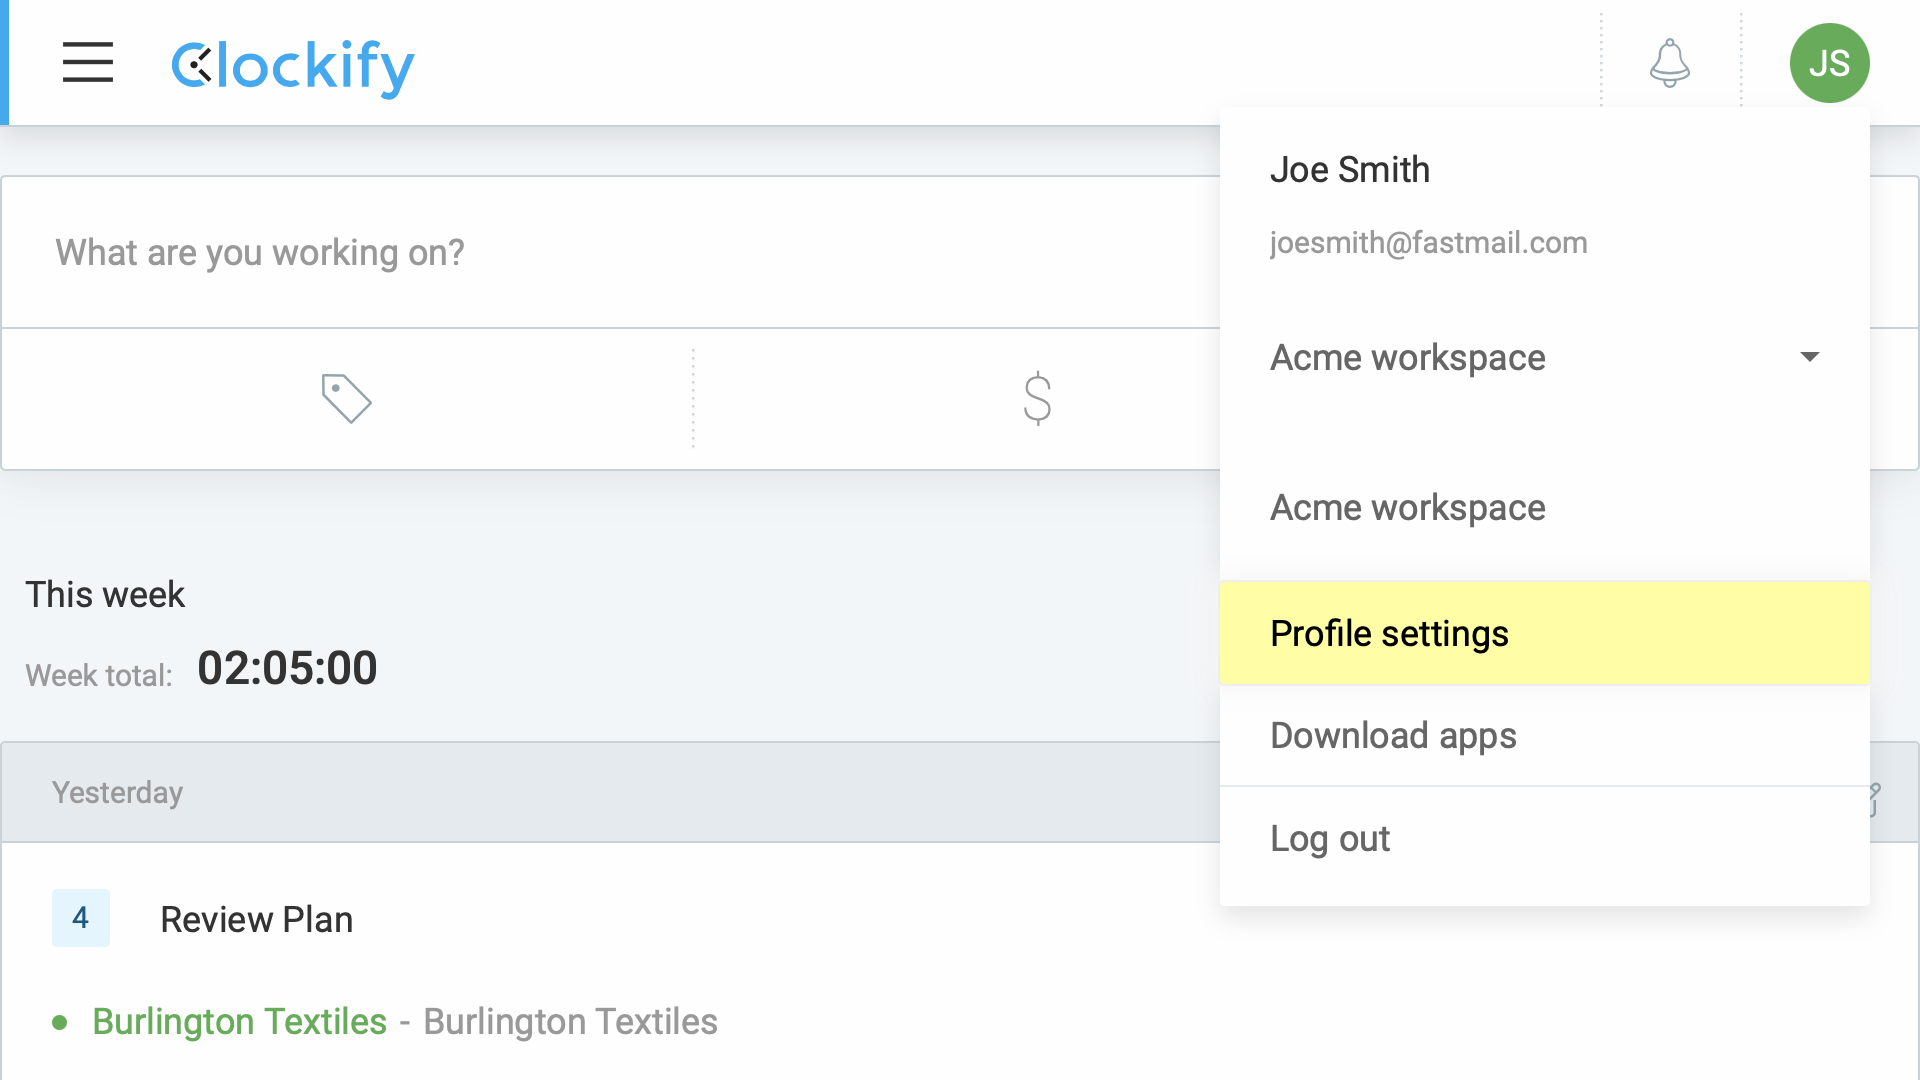
- In the top right corner, go to the User Menu > Profile Settings
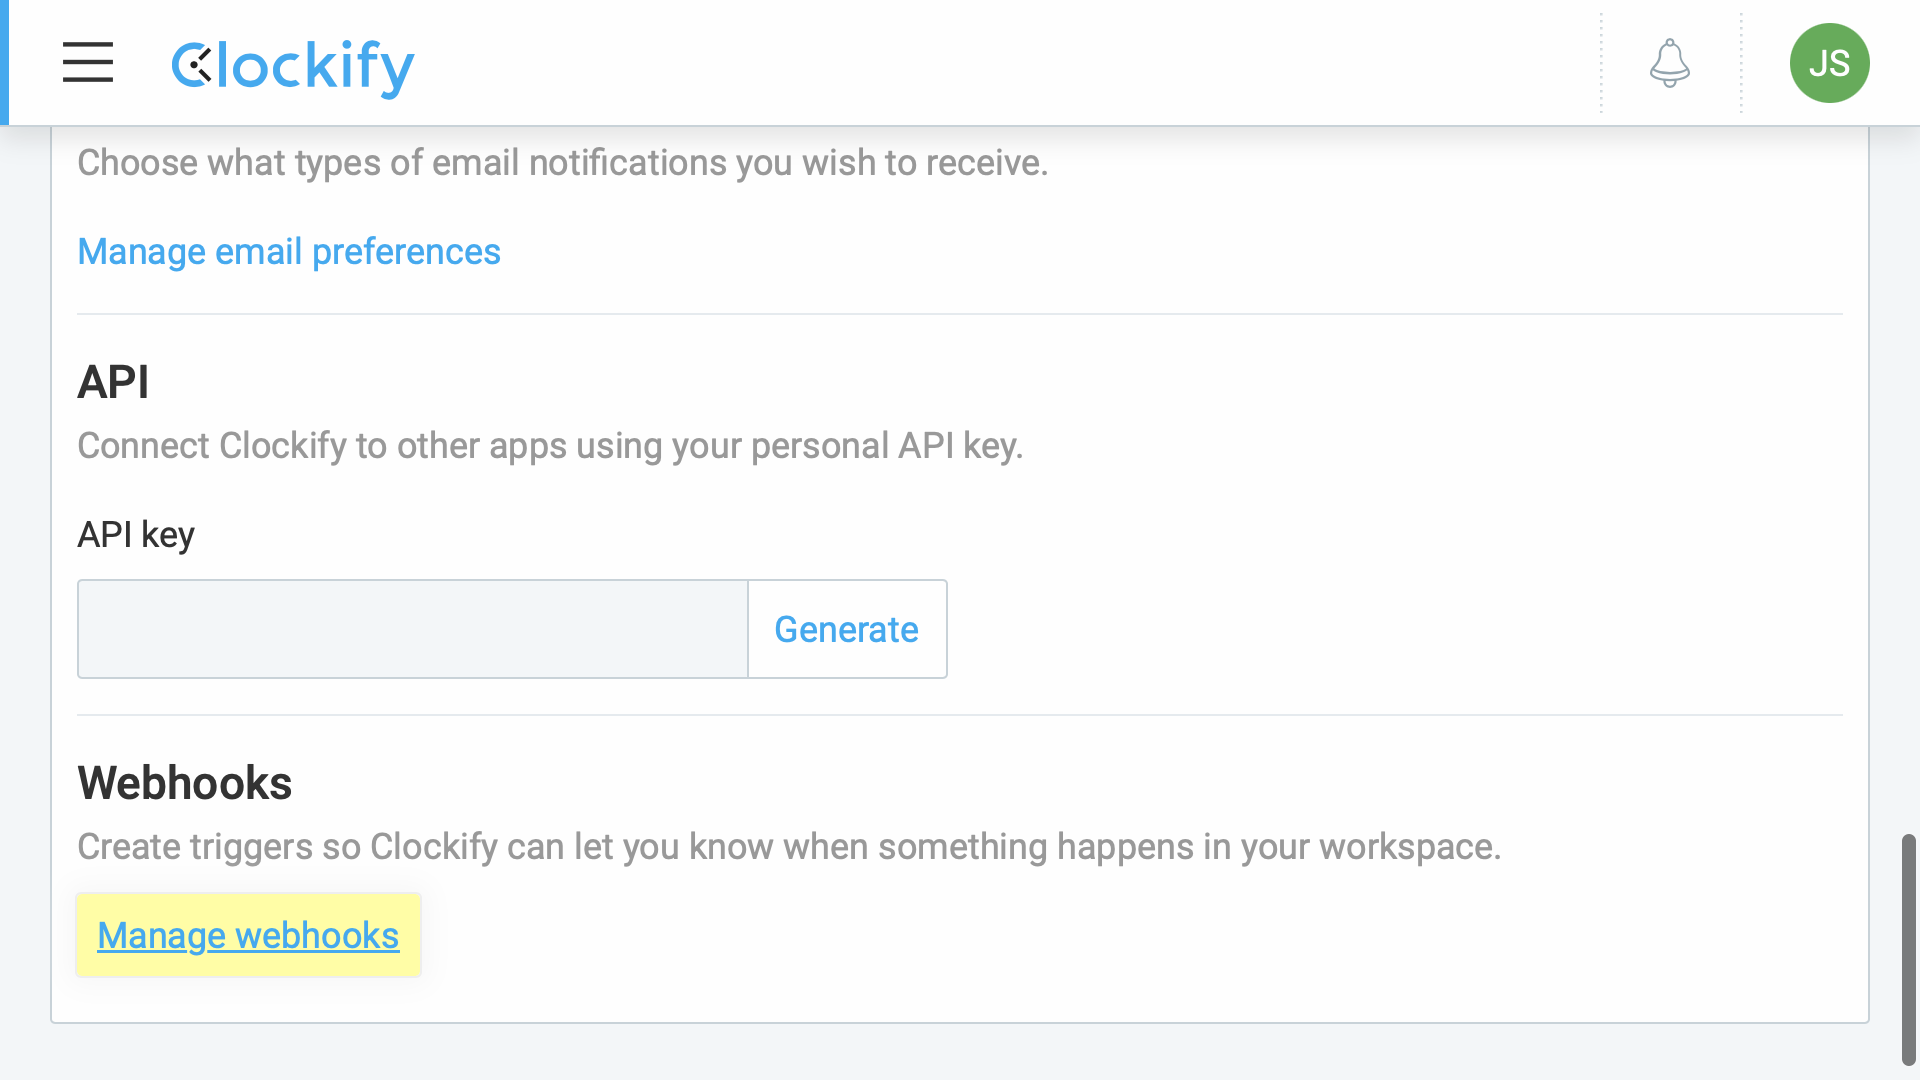
- After the API Key settings, click Manage Webhooks
 |
 |
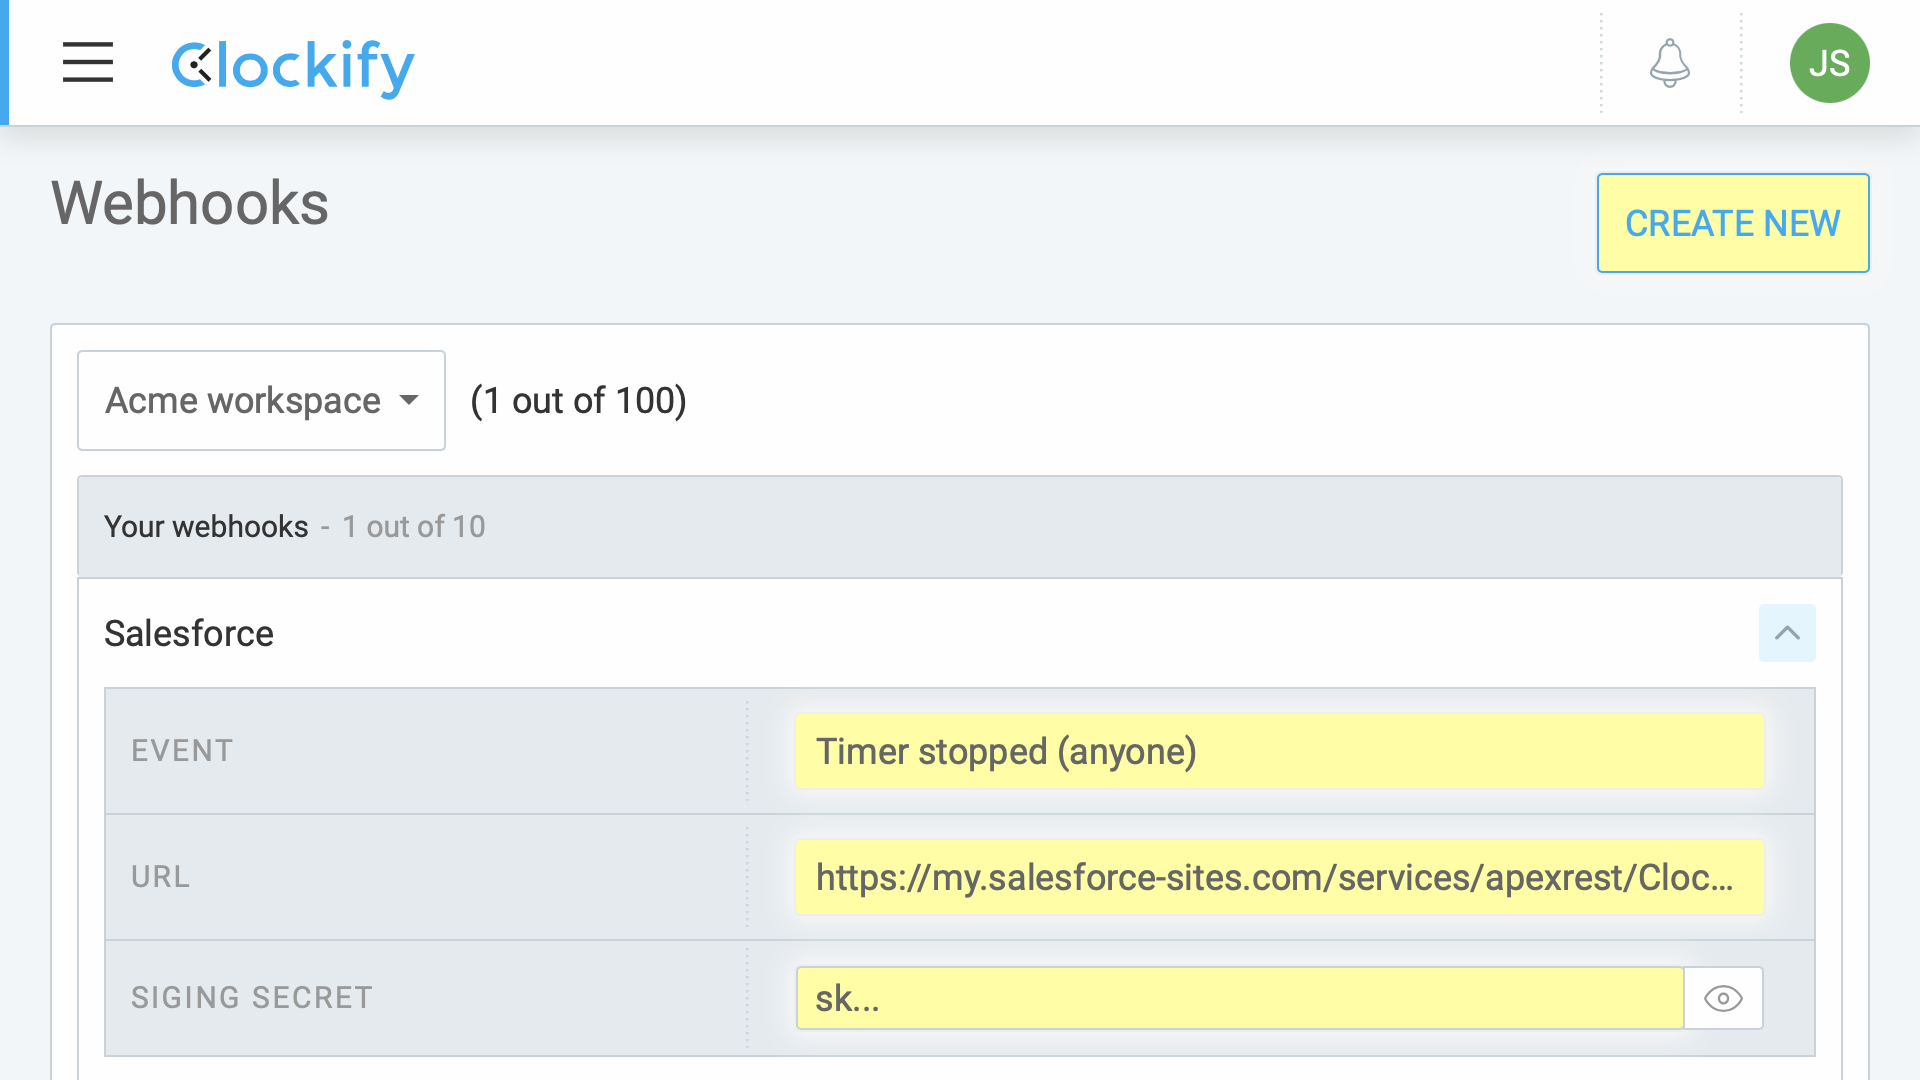
Create a new webhook:
- Name: Salesforce
- Endpoint URL: Paste the Webhook URL from the clipboard
- Event: Timer stopped (anyone)
Finally click the 'eye' icon and Copy the secret to the clipboard.
Step 3 - Test the integration
Last thing - before testing, store the Clockify secret in Salesforce.
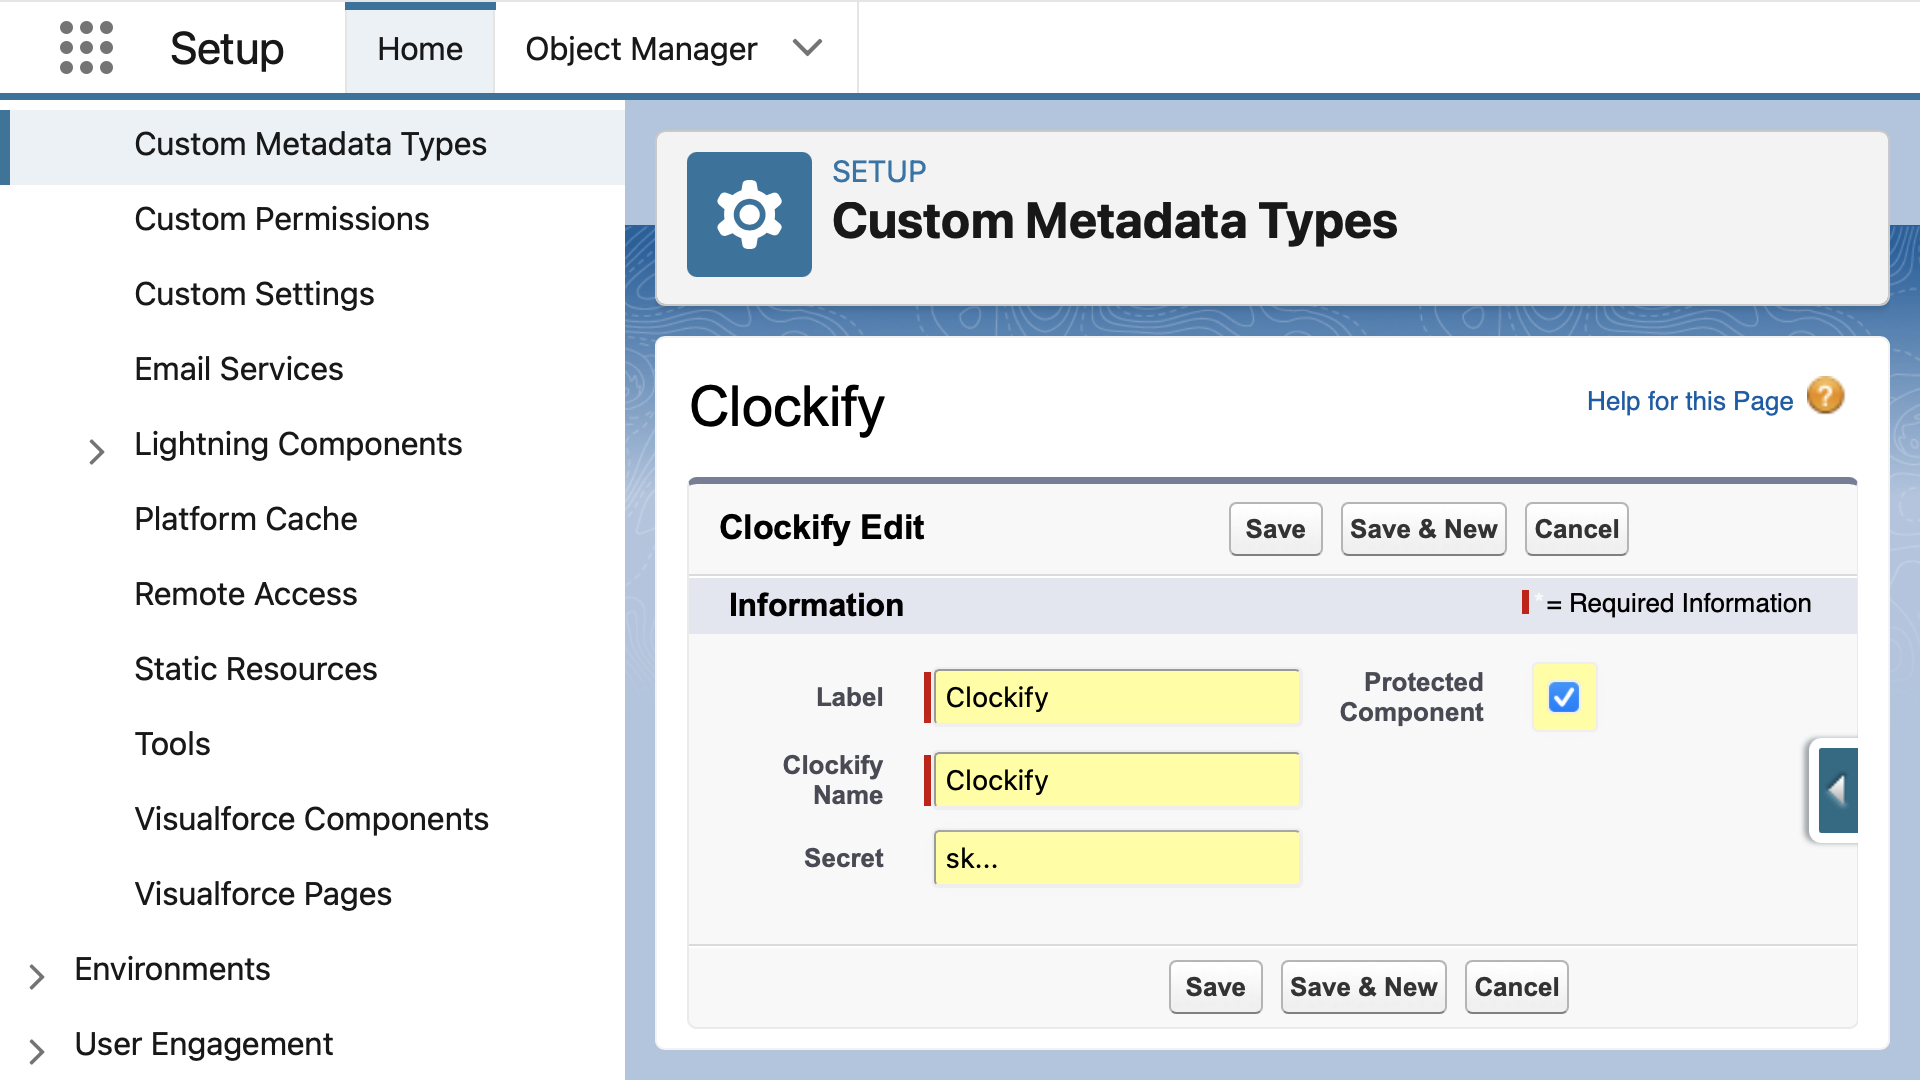
- Go to Setup > Custom Metadata Types > Clockify > Manage Records > Click New
- Set the Name: Clockify, Secret: Paste the secret from the clipboard, then Save
Log into Clockify and go to Time Tracker:
- Click (+) Project > Create New Project > enter a name/client
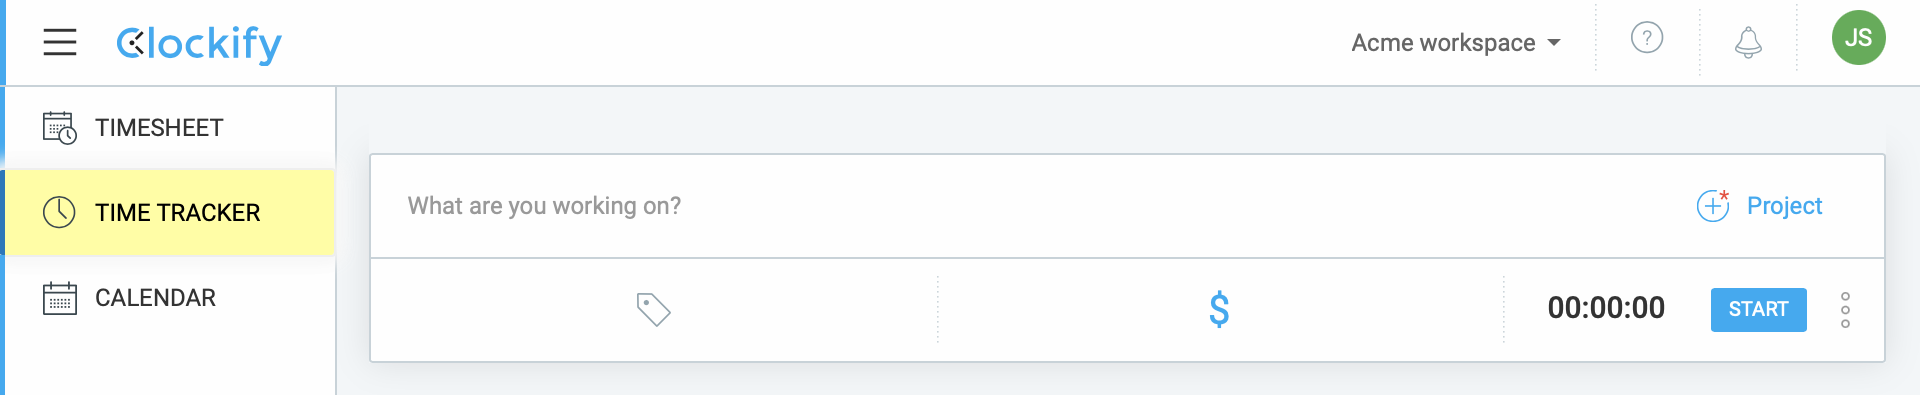
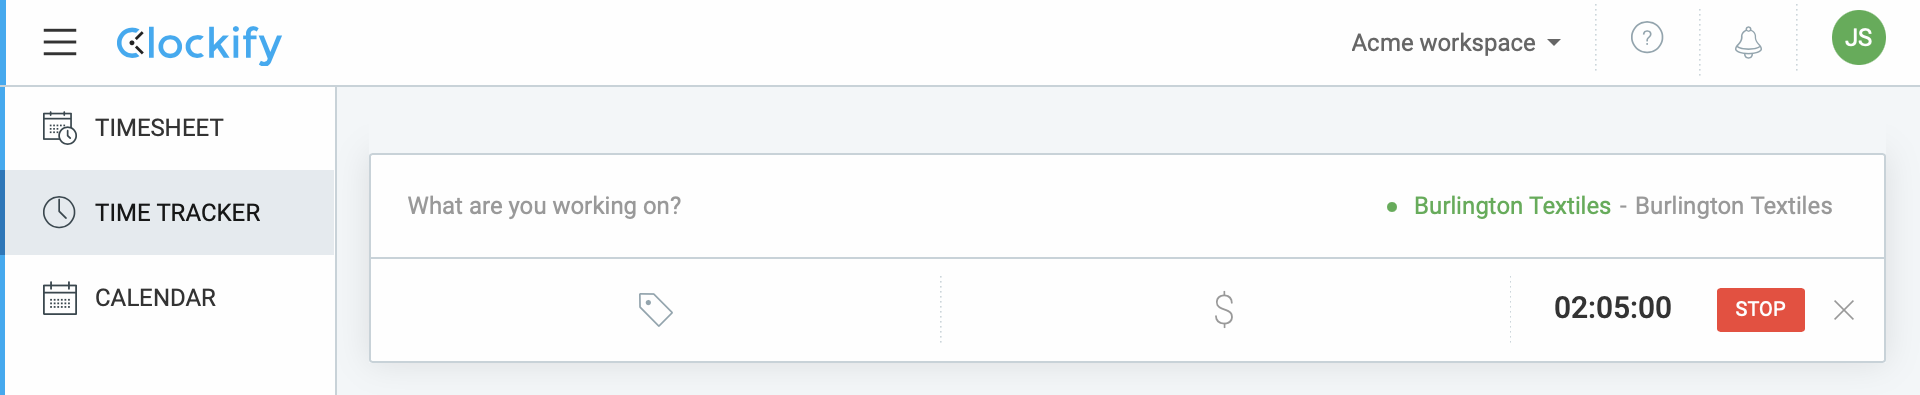
- Click Start then click Stop - your time entry is sent to Salesforce immediately.
Log into Salesforce and go to the Calendar Events tab. Here's the time entry!
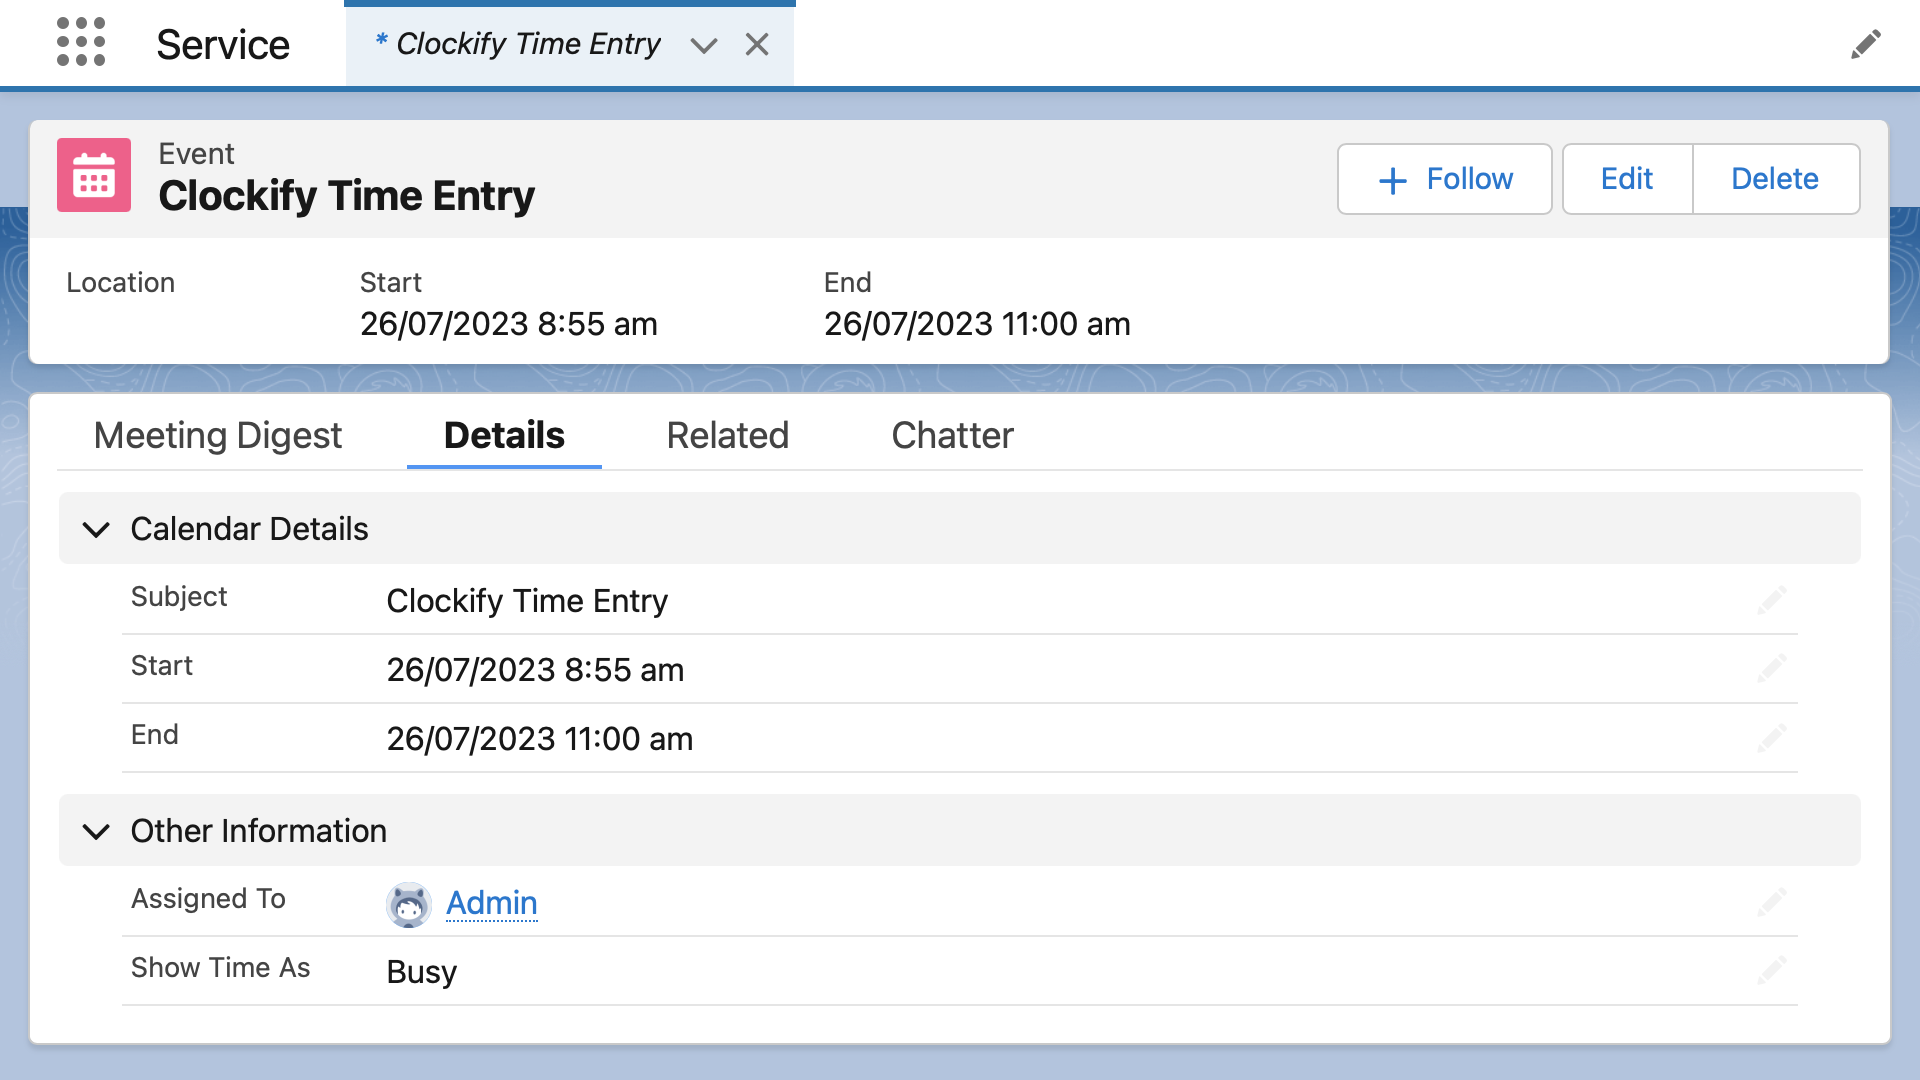
This integration captured Time Entries as Salesforce Events using Streamscript and Clockify webhooks. The same pattern works with other Clockify data including Projects, Invoices, and Tasks.