Salesforce/Box V2 Webhooks
Following Box V1 Webhooks, this is an enhanced Salesforce/Box integration using V2 Webhooks. In this recipe, we go beyond the upload notification, and use Box OAuth to sync entire files from Box directly into Salesforce using the ContentVersion object.
| Recipe |
|---|
| Step 1 - Create a webhook receiver in Salesforce Step 2 - Create a V2 Webhooks app in Box.com Step 3 - Upload files to test the Box integration |
 |
 |
Step 1 - Create a webhook receiver in Salesforce
Log into Salesforce and prepare the Flow to handle the webhook.
- Follow the site setup video if you don't already have a Site configured.
- Go to the Streamscript app > Integrations tab > click New Webhook Flow
- Add a Streamscript action, with Name: Streamscript
- Paste in below script then click Done
# Streamscript

# Read the Box webhook
$enterpriseId = 'YOUR-ENTERPRISE-ID-HERE'
$request = Json-Decode $Webhook.request
$type       = $request.trigger          # "FILE.UPLOADED"
$fileName   = $request.source.name      # "Proposal-01.png"
$fileId     = $request.source.id        # "1234567890"
$name       = $request.created_by.name  # "John Smith"

# Obtain bearer token
$url = 'callout:https_api_box_com/oauth2/token'
$headers = {}
$headers.Content-Type = 'application/x-www-form-urlencoded'
$payload = ''
$payload += '&client_id={!$Credential.Username}'
$payload += '&client_secret={!$Credential.Password}'
$payload += '&grant_type=client_credentials'
$payload += '&box_subject_type=enterprise'
$payload += '&box_subject_id=' + $enterpriseId
$response = Http-Post $url $headers $payload
$result = Json-Decode $response.body
$accessToken = $result.access_token

# Obtain download url
$url = `https://api.box.com/2.0/files/$fileId/content`
$headers   = {authorization: `Bearer $accessToken`}
$response  = Http-Get $url $headers
$fileUrl   = $response.headers.location

# Retrieve b64 data
$base64  = Http-Get $fileUrl -base64

# Prepare new record
$ContentVersion = New-ContentVersion {
    Title = $fileName
    PathOnClient = $fileName
    VersionData = $base64.body
}

# Return as SObject
return $ContentVersion
Add a flow element to save the Content Version.
- Add a Create Records element, with Name: Save Content Version
- Set Create a Record from These Values to the
Streamscript > recordoutput - Click Done. Here is how the flow looks.
Save the Flow:
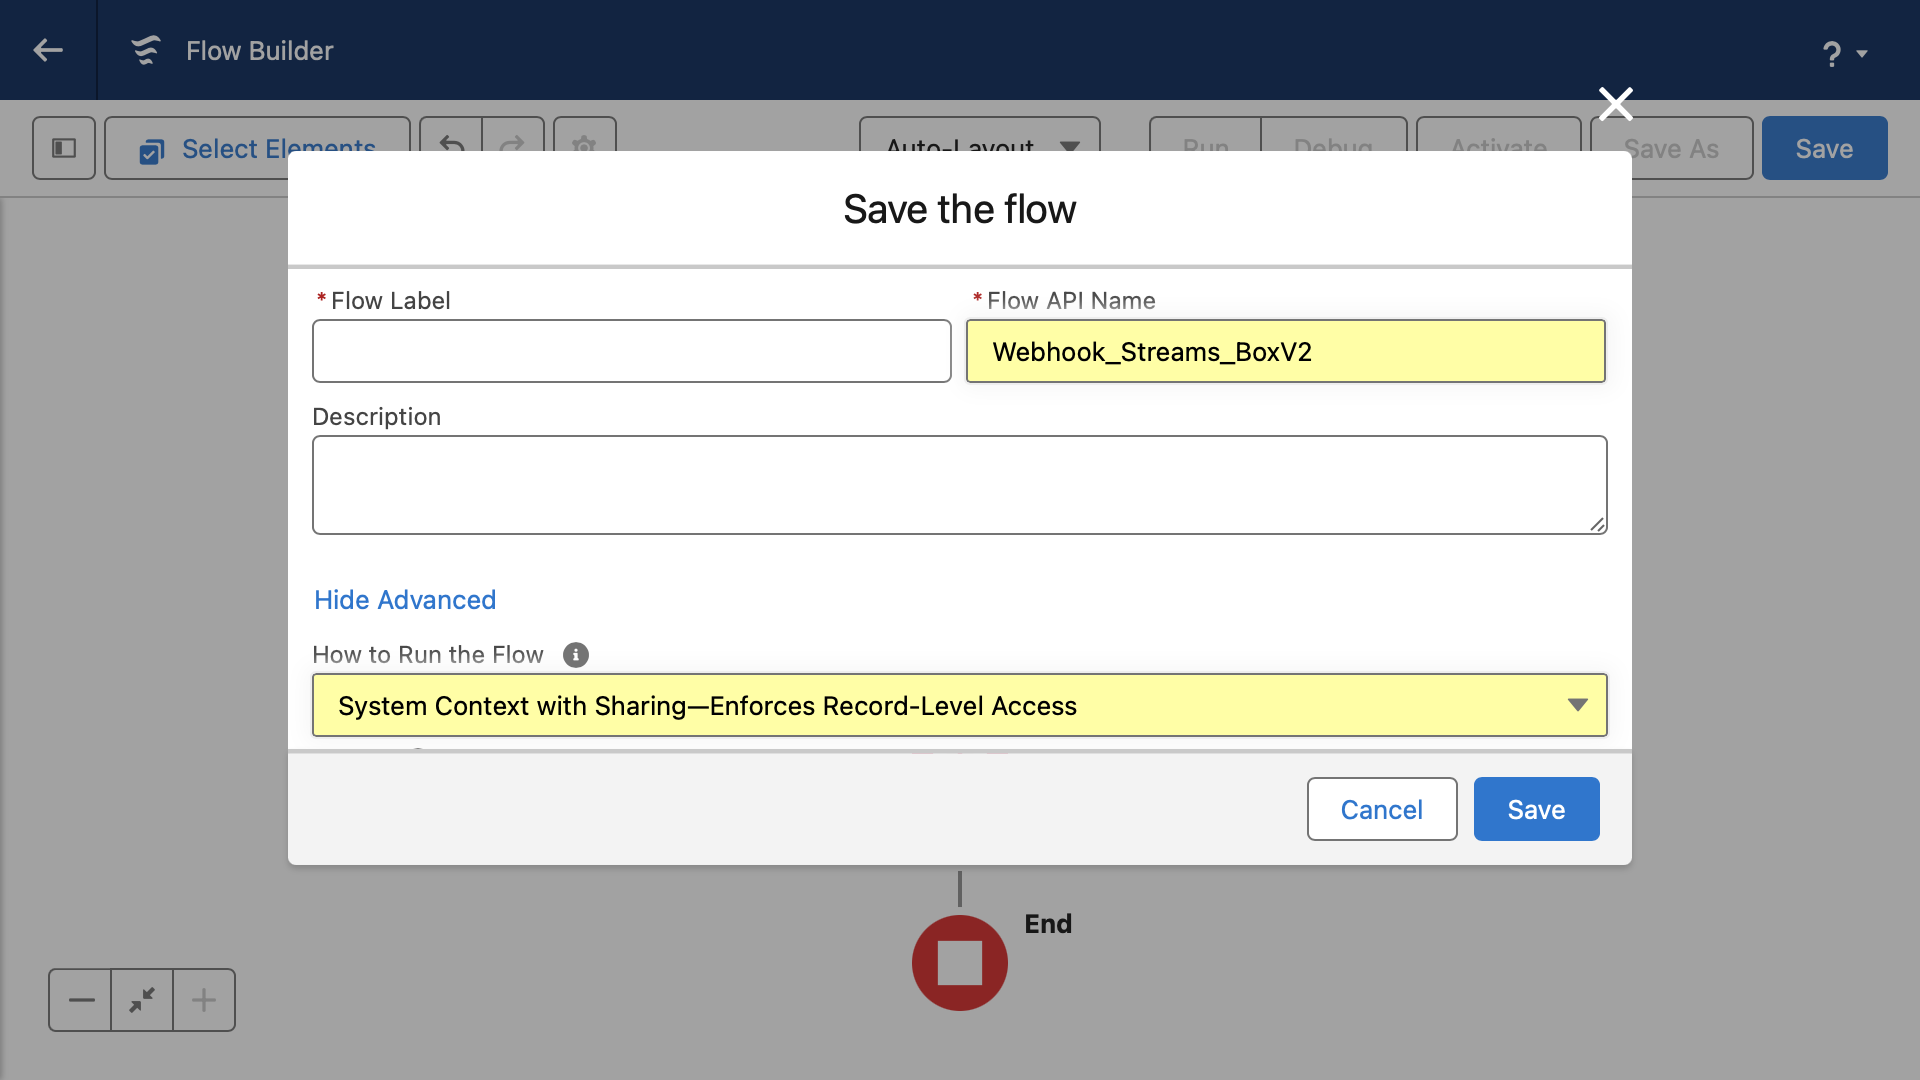
- Use this specific API Name: Webhook_Streams_BoxV2
- Show Advanced > How to Run the Flow: choose System Context With Sharing
- (This flow property ensures the Site Guest User can insert the task record)
Note that the Flow API Name follows this three-part naming convention: Webhook_SiteName_PathSuffix
- Click Activate
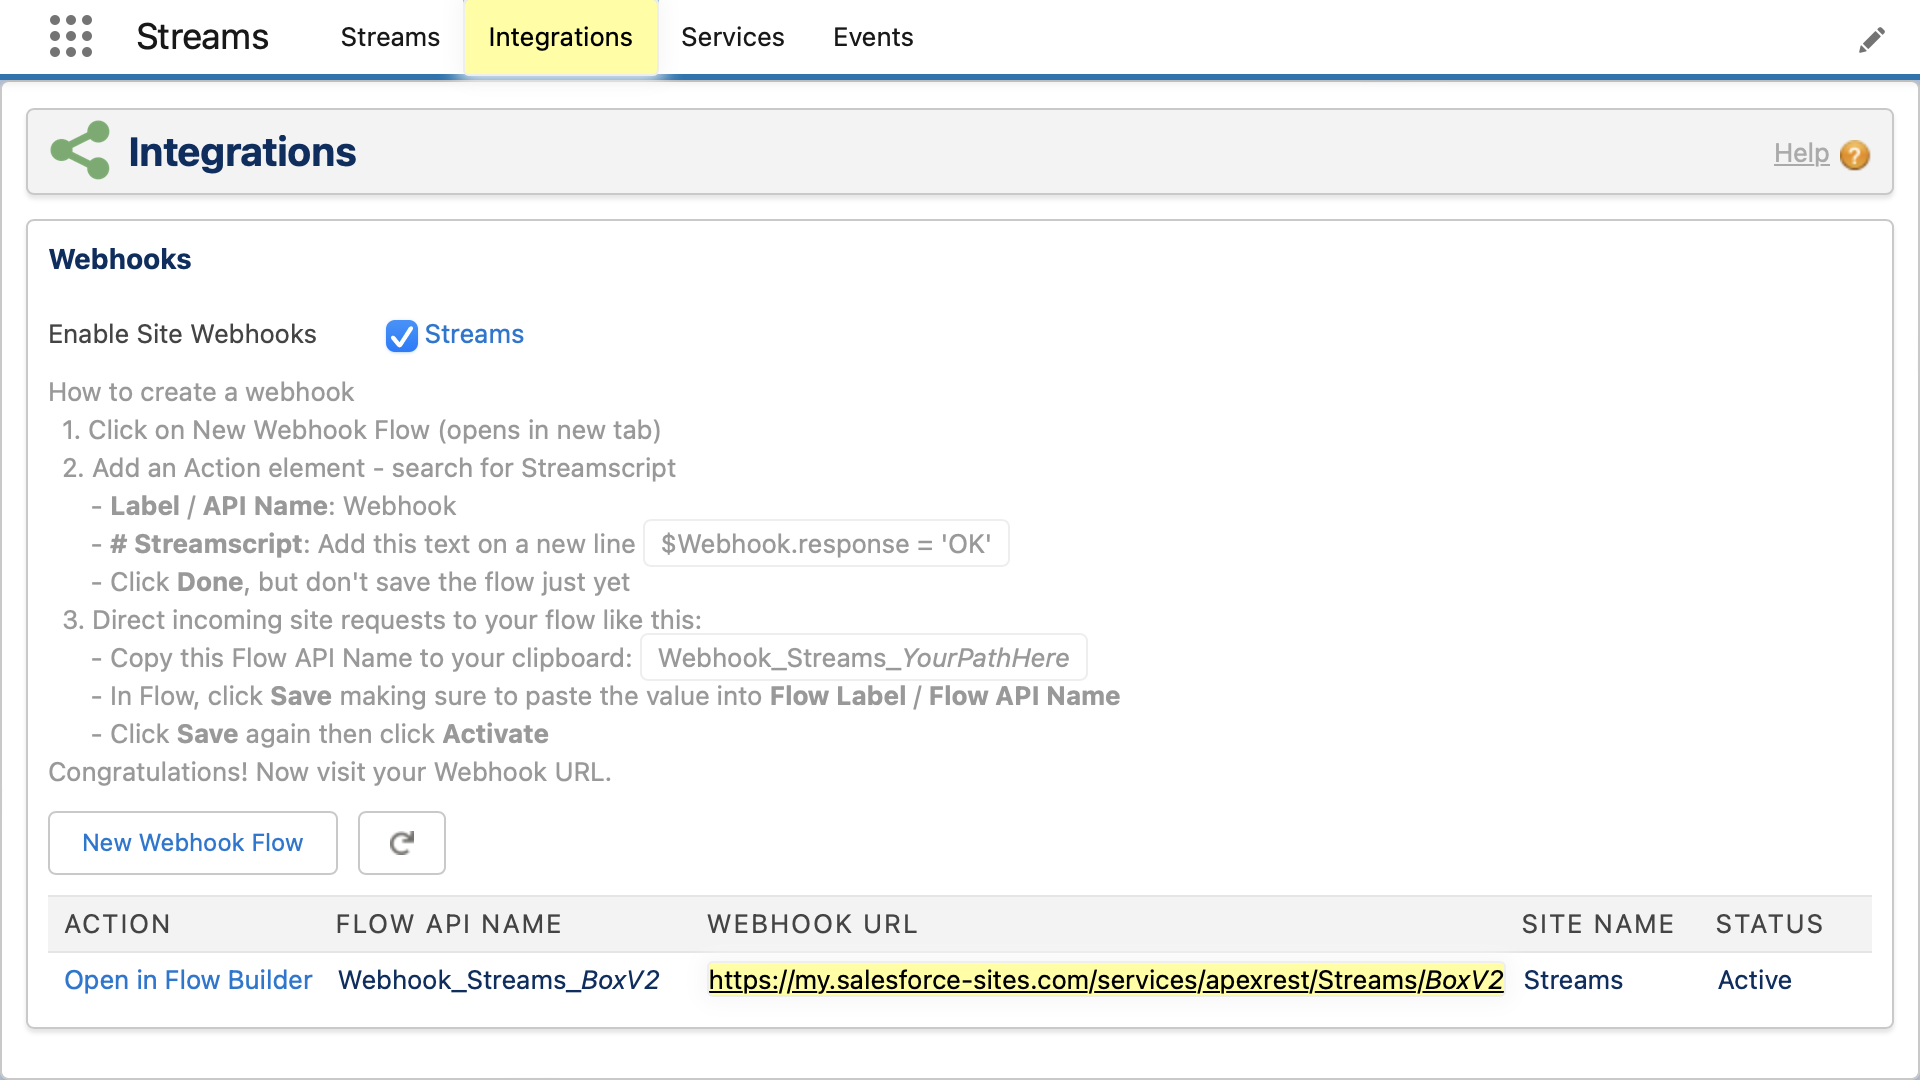
- Go to the Streamscript app > Integrations tab
- Find the Webhook URL and then Copy it to the clipboard. It's ready for Box.
Named Credential
Create a Named Credential that provides your API authorization bearer token:
- Navigate to Named Credentials > New ▽ > New Named Credential
- Label: https_api_box_com
- Name: https_api_box_com
- URL: https://api.box.com
- Identity Type: Named Principal
- Auth Protocol: Password Authentication
- Generate Authorization Header: [_] Uncheck
- Allow Merge Fields in HTTP Header: [X] Check
- Allow Merge Fields in HTTP Body: [X] Check
- If you use External Credentials, set the Managed Package Access: Streams
Remote Site Settings x 2
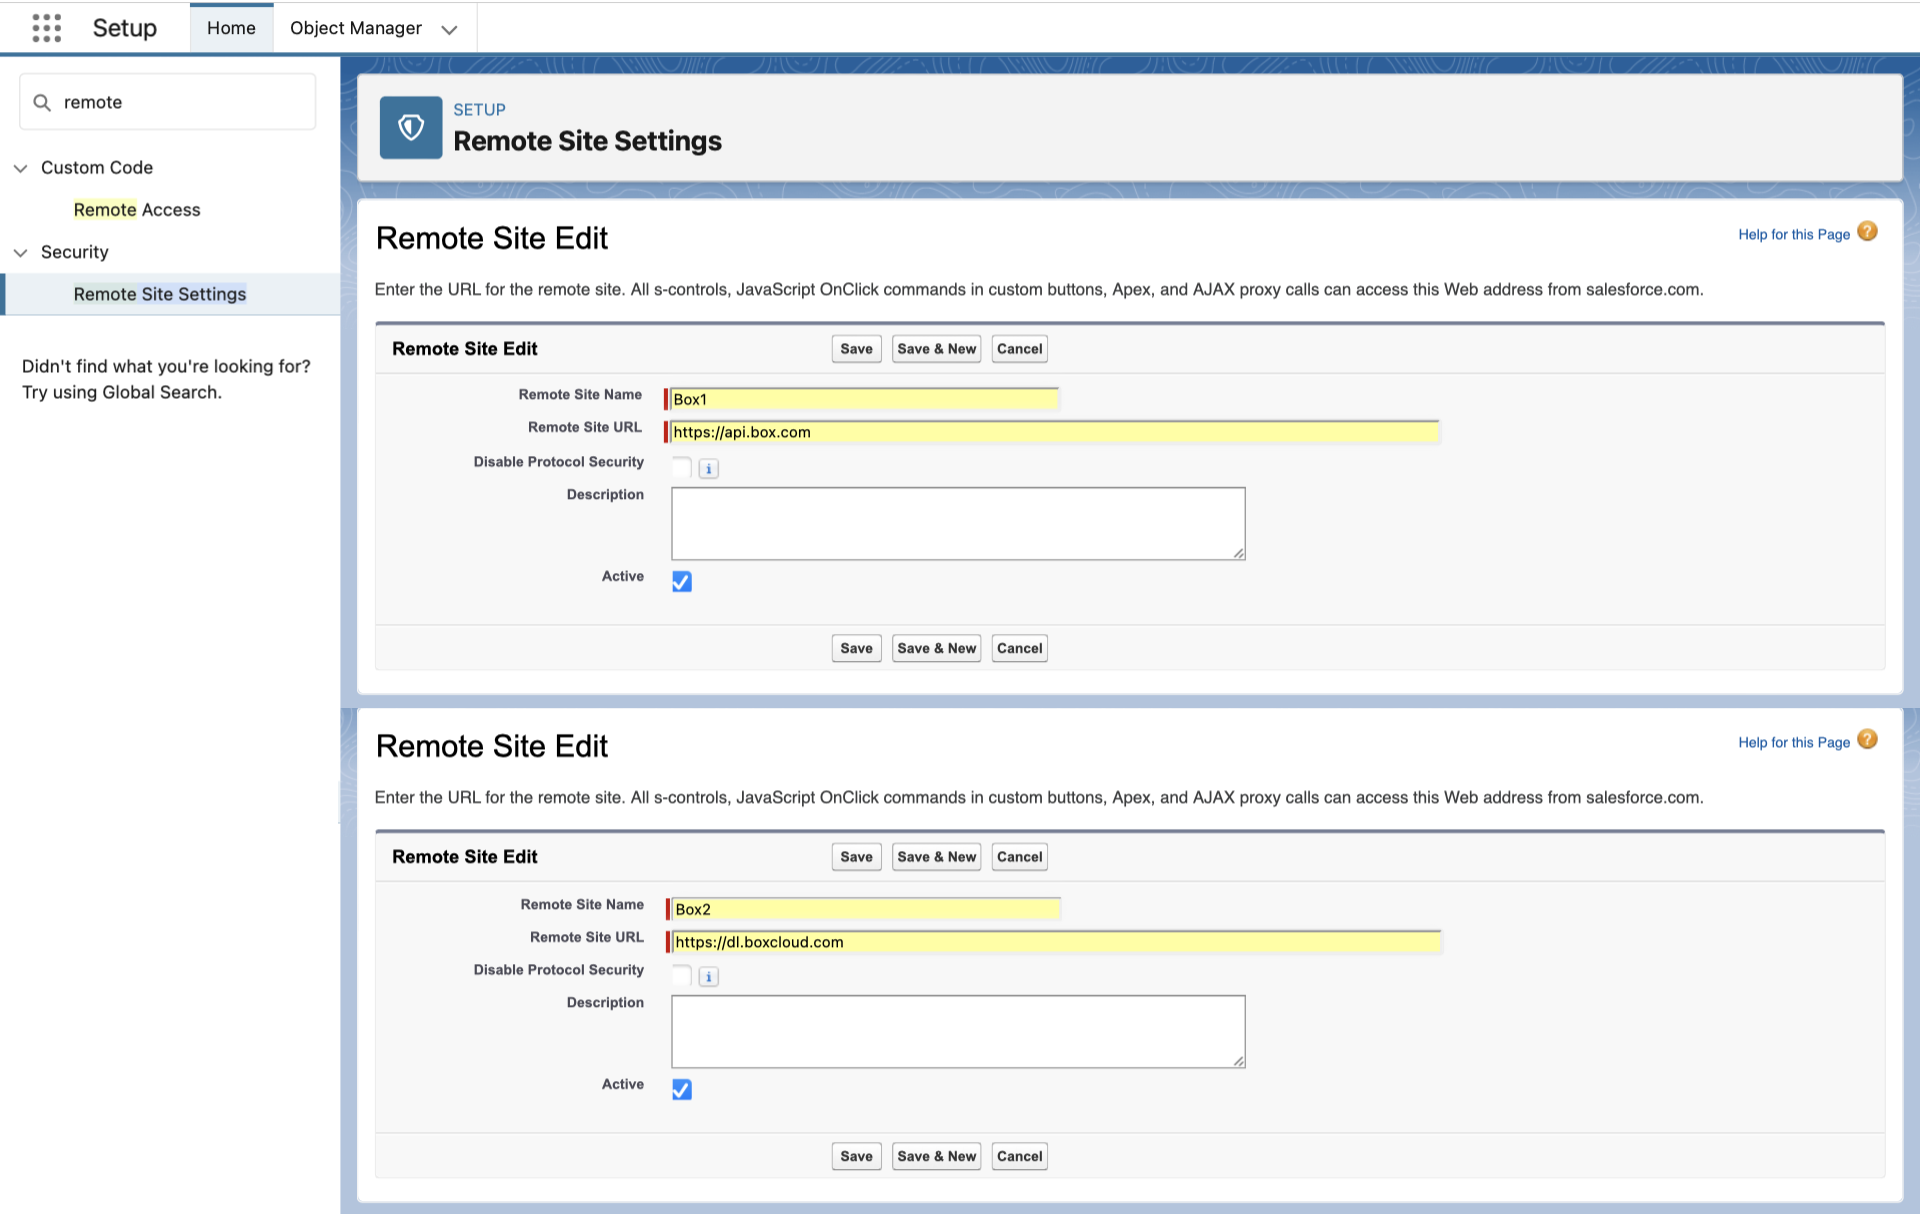
Create the Remote Site settings, one for the OAuth, another for file downloads:
- Go to Setup > Remote Sites > New Remote Site
- Active: True
- First Remote Site URL: https://api.box.com
- Second Remote Site URL: https://dl.boxcloud.com
Step 2 - Create a V2 Webhooks app in Box.com
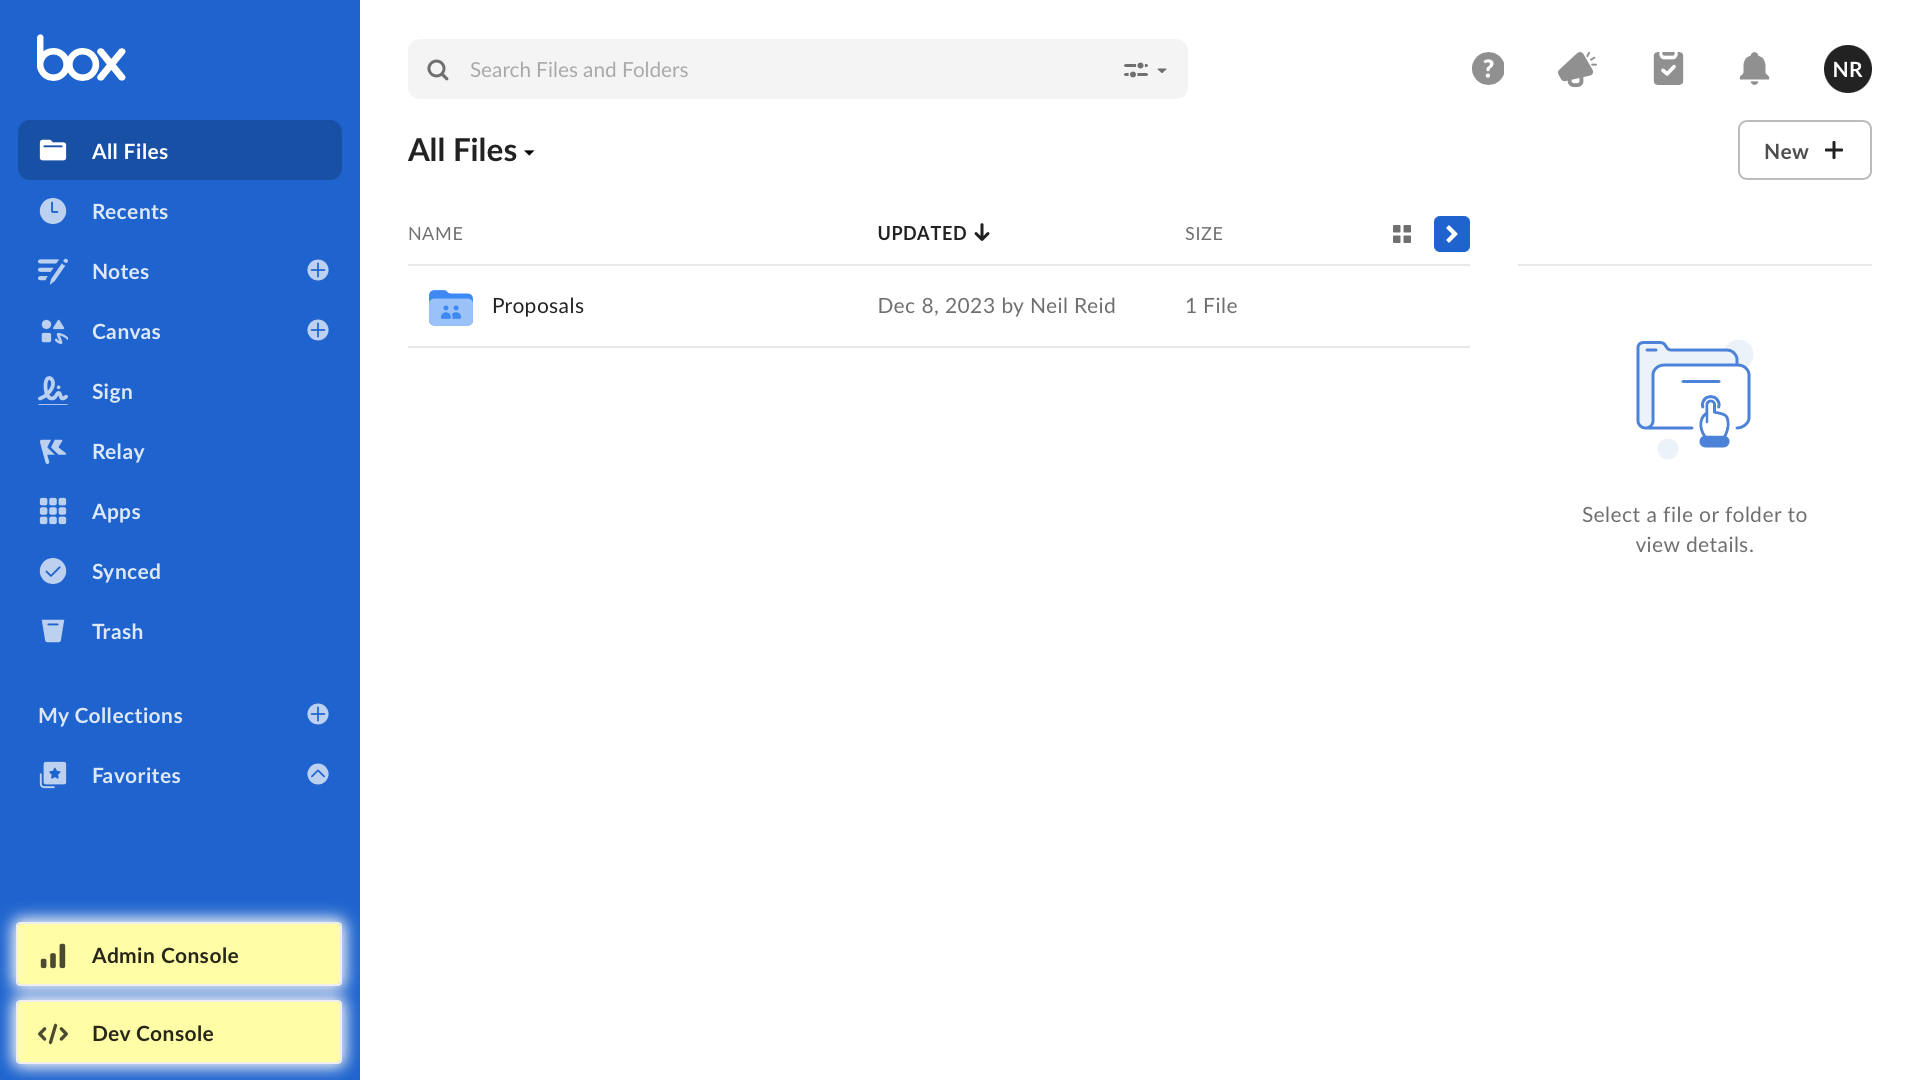
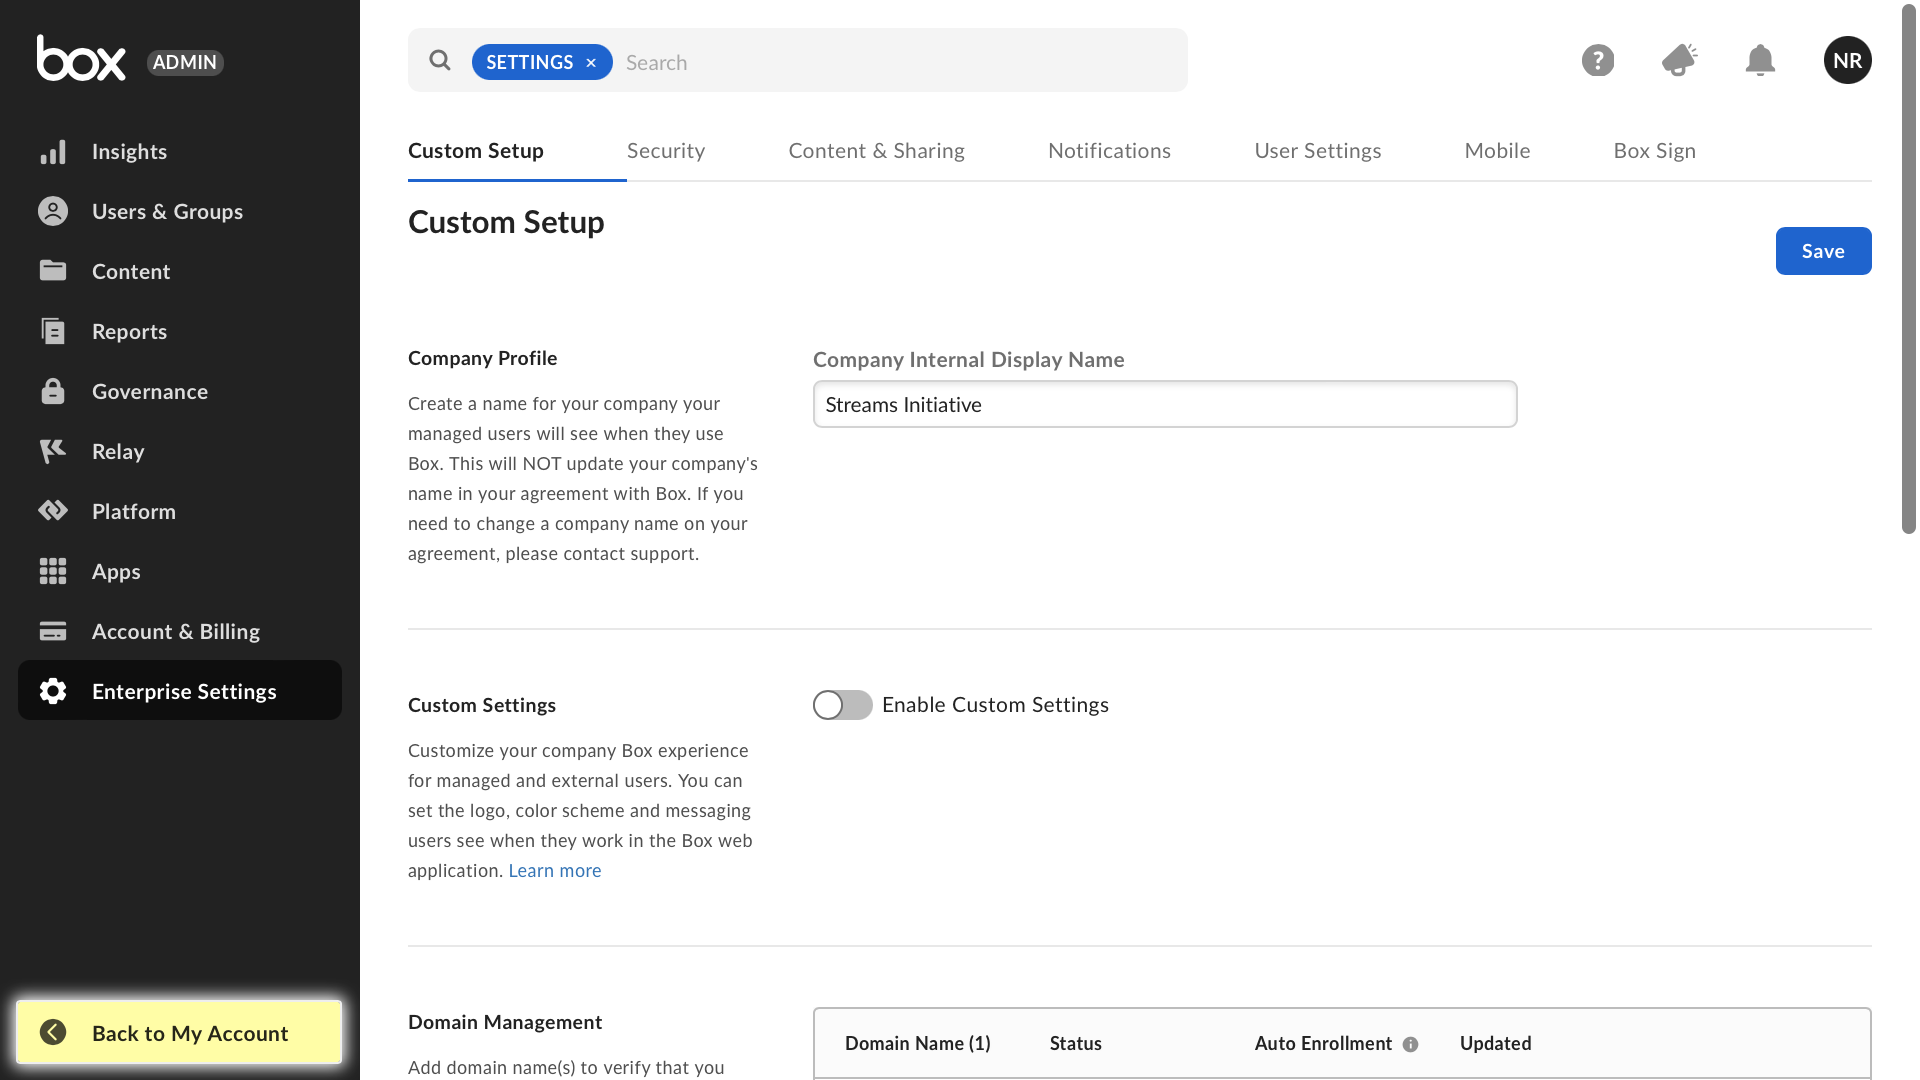
Box has three setup areas. Use the links below to ensure you are in the right area:
- Box App (blue) - https://app.box.com
- Admin Console (black) - https://app.box.com/master
- Developer Console (black) - https://app.box.com/developers/console
 |
 |
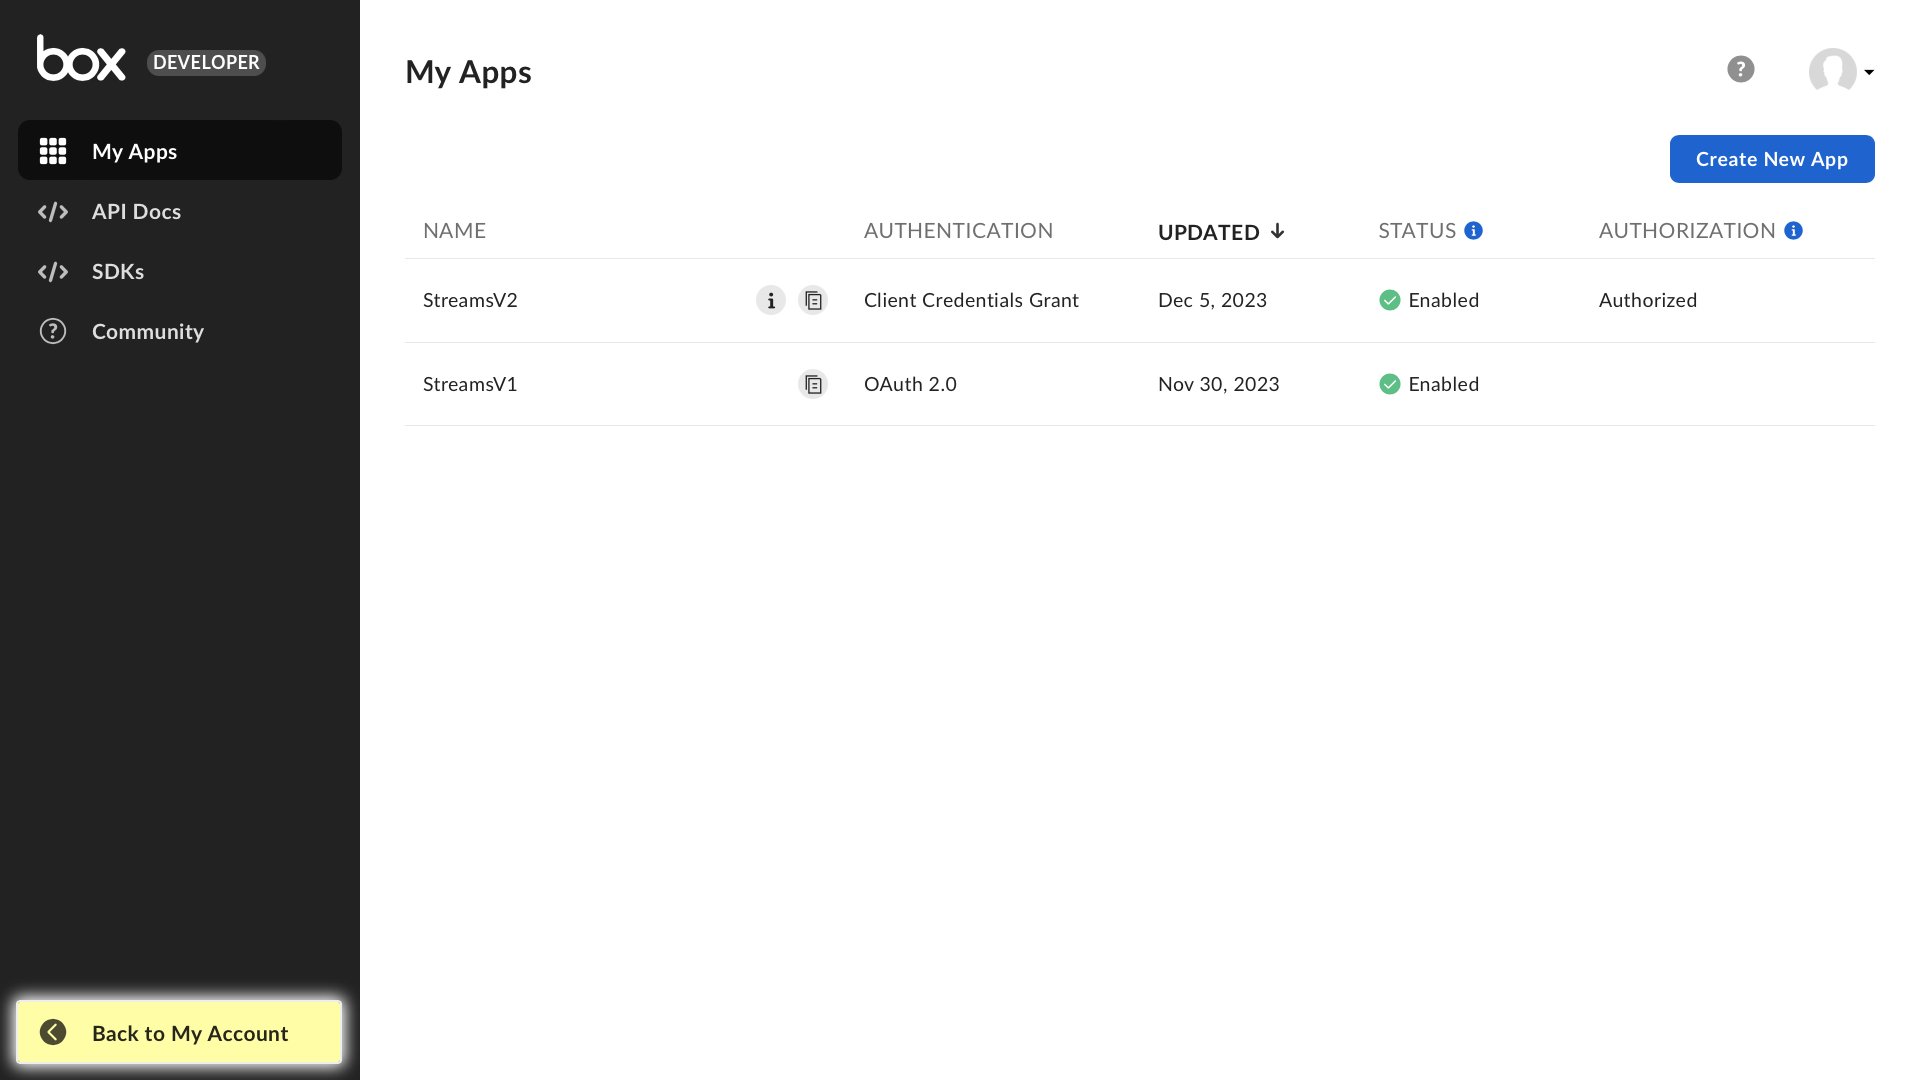 |
Log into Box > Dev Console > My Apps:
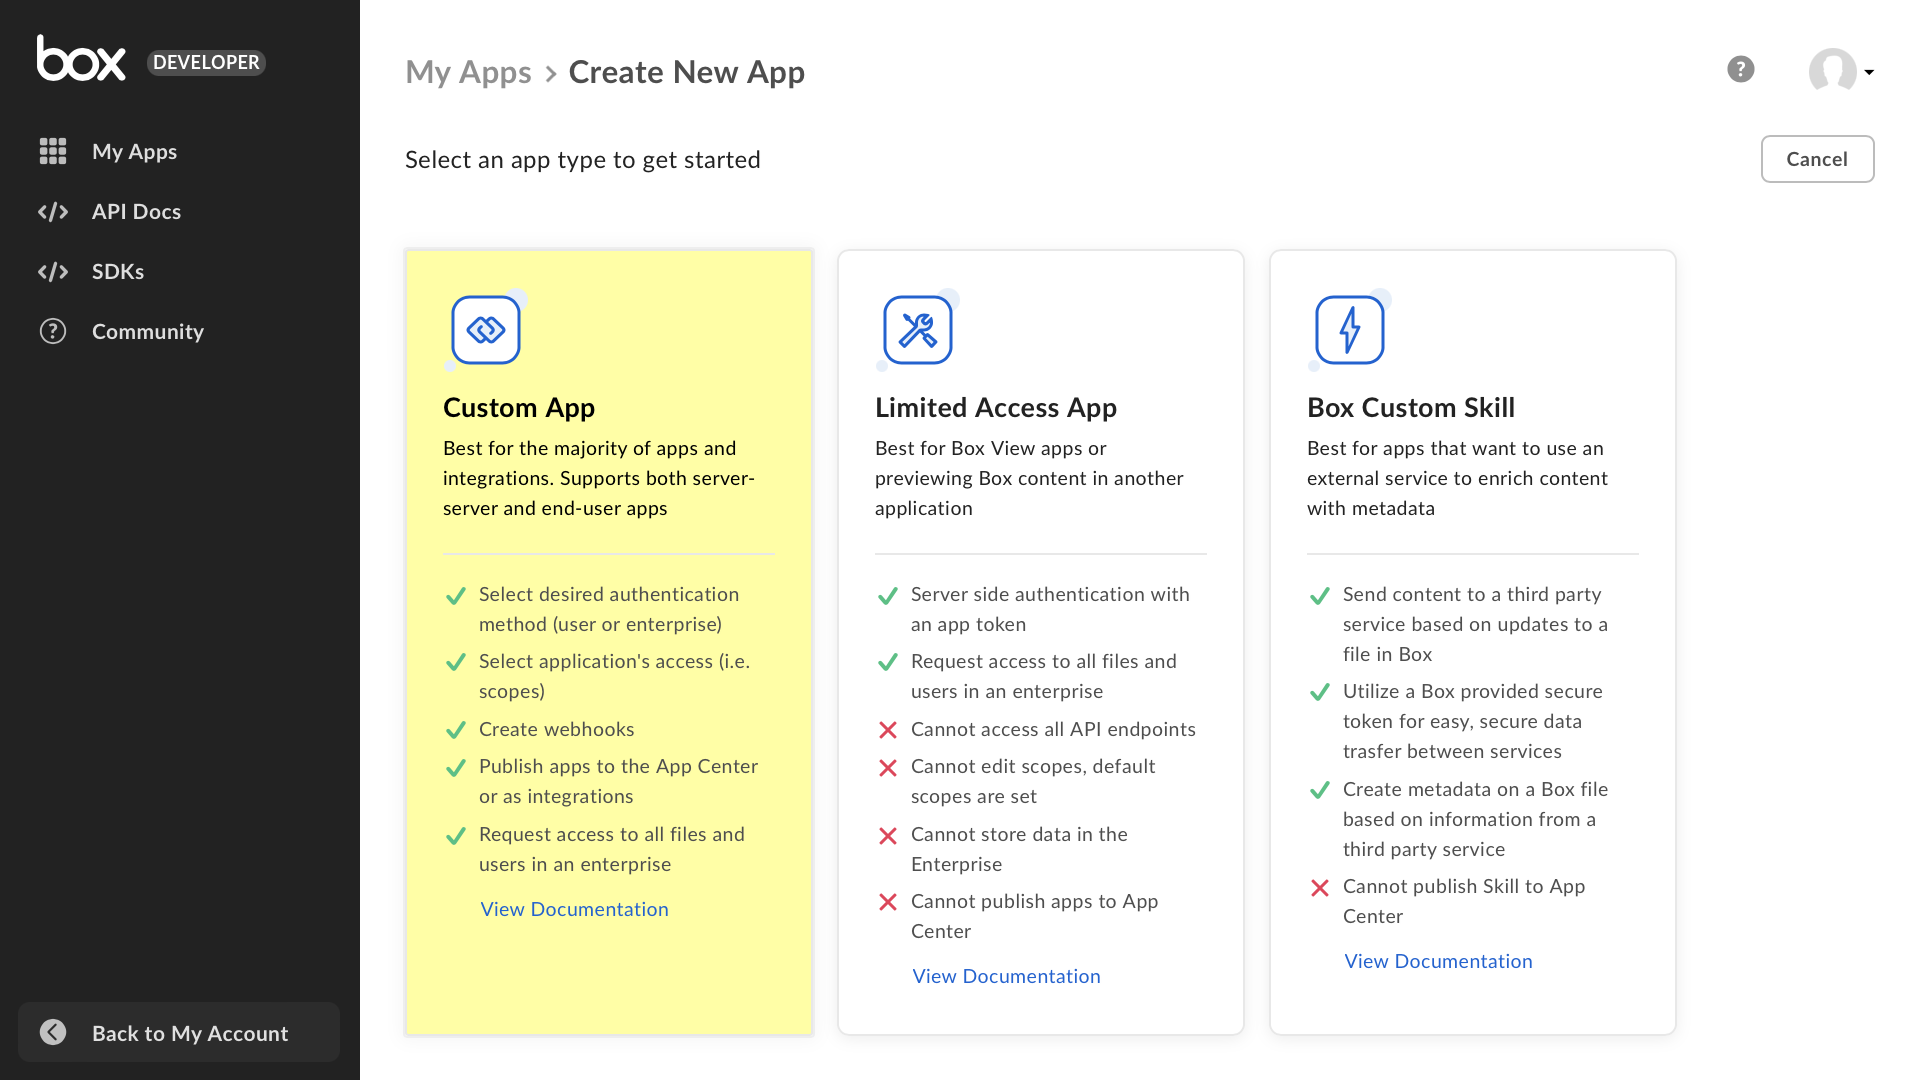
- Click Create New App
- App Type: Custom App
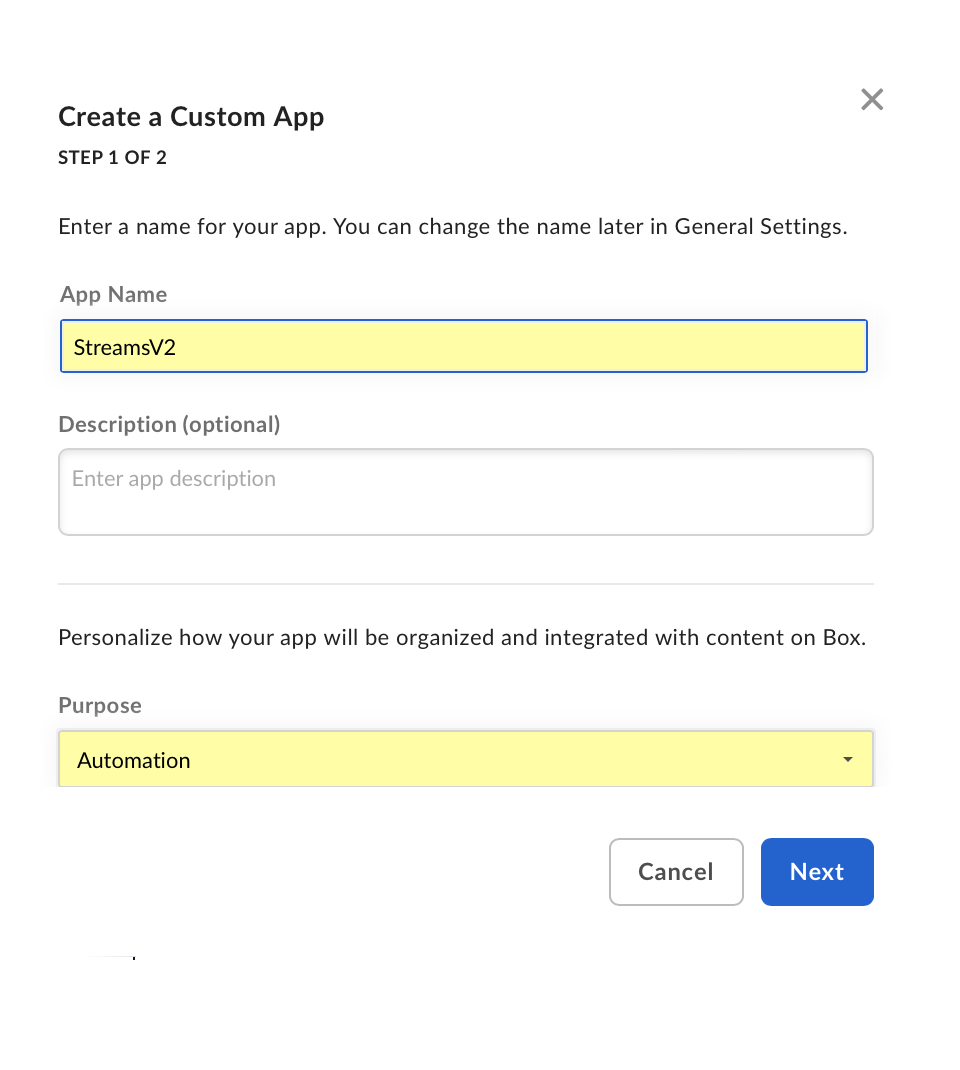
Carefully choose the app settings:
- App Name: StreamscriptV2
- Purpose: Automation
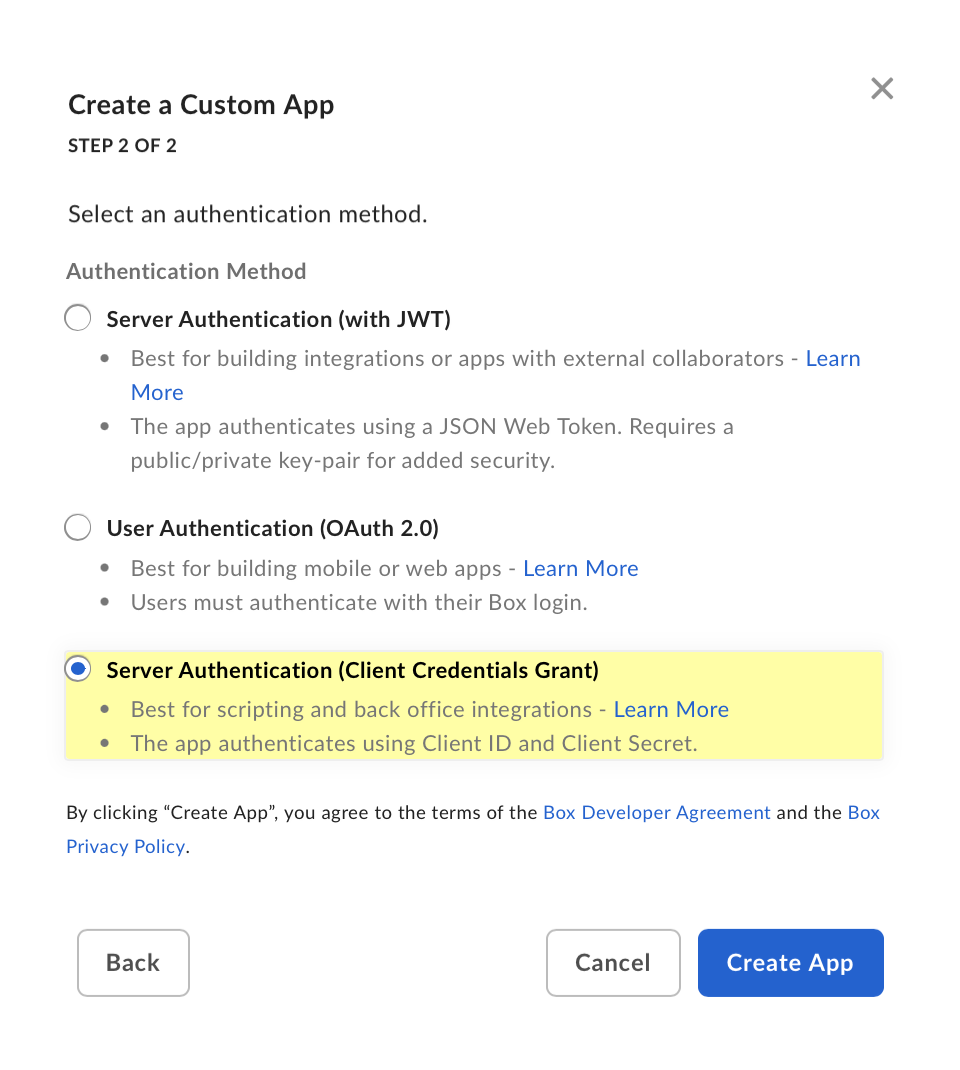
- Authentication Method: Server Authentication (Client Credentials Grant) - this setting is a simplified server-to-server flow. It doesn't require users to exchange tokens in a browser.
 |
 |
Submit App for Authorization
In the role of Developer, make the app privately available to the role of Administrator.
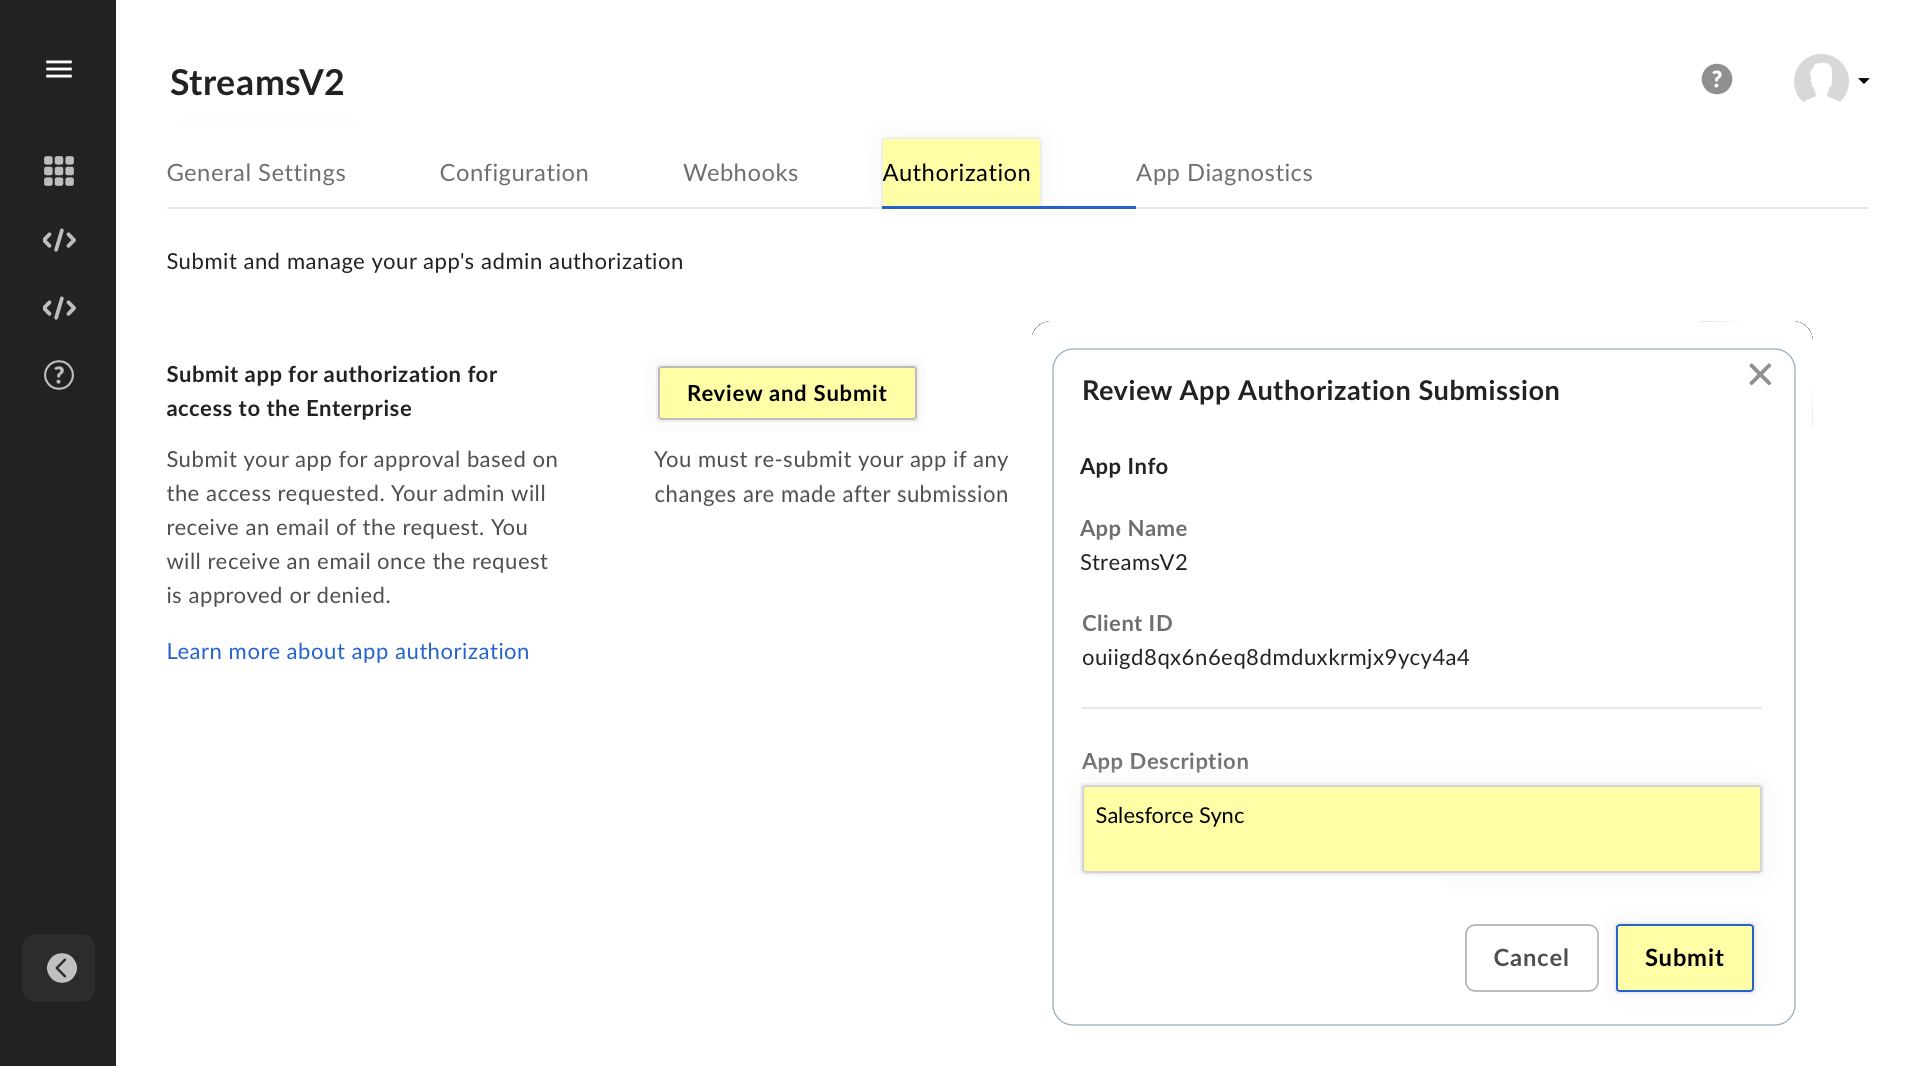
- Go to the Authorization tab
- Click Review and Submit
- Provide an App Description, then click Submit
- Note the status Pending Authorization
Approve the App
In the role of Administrator, approve the app so that it can be used by box users in the enterprise. Log into your Box workspace. From the left menu bar, select the Admin Console:
- Click Apps, then click Custom Apps Manager
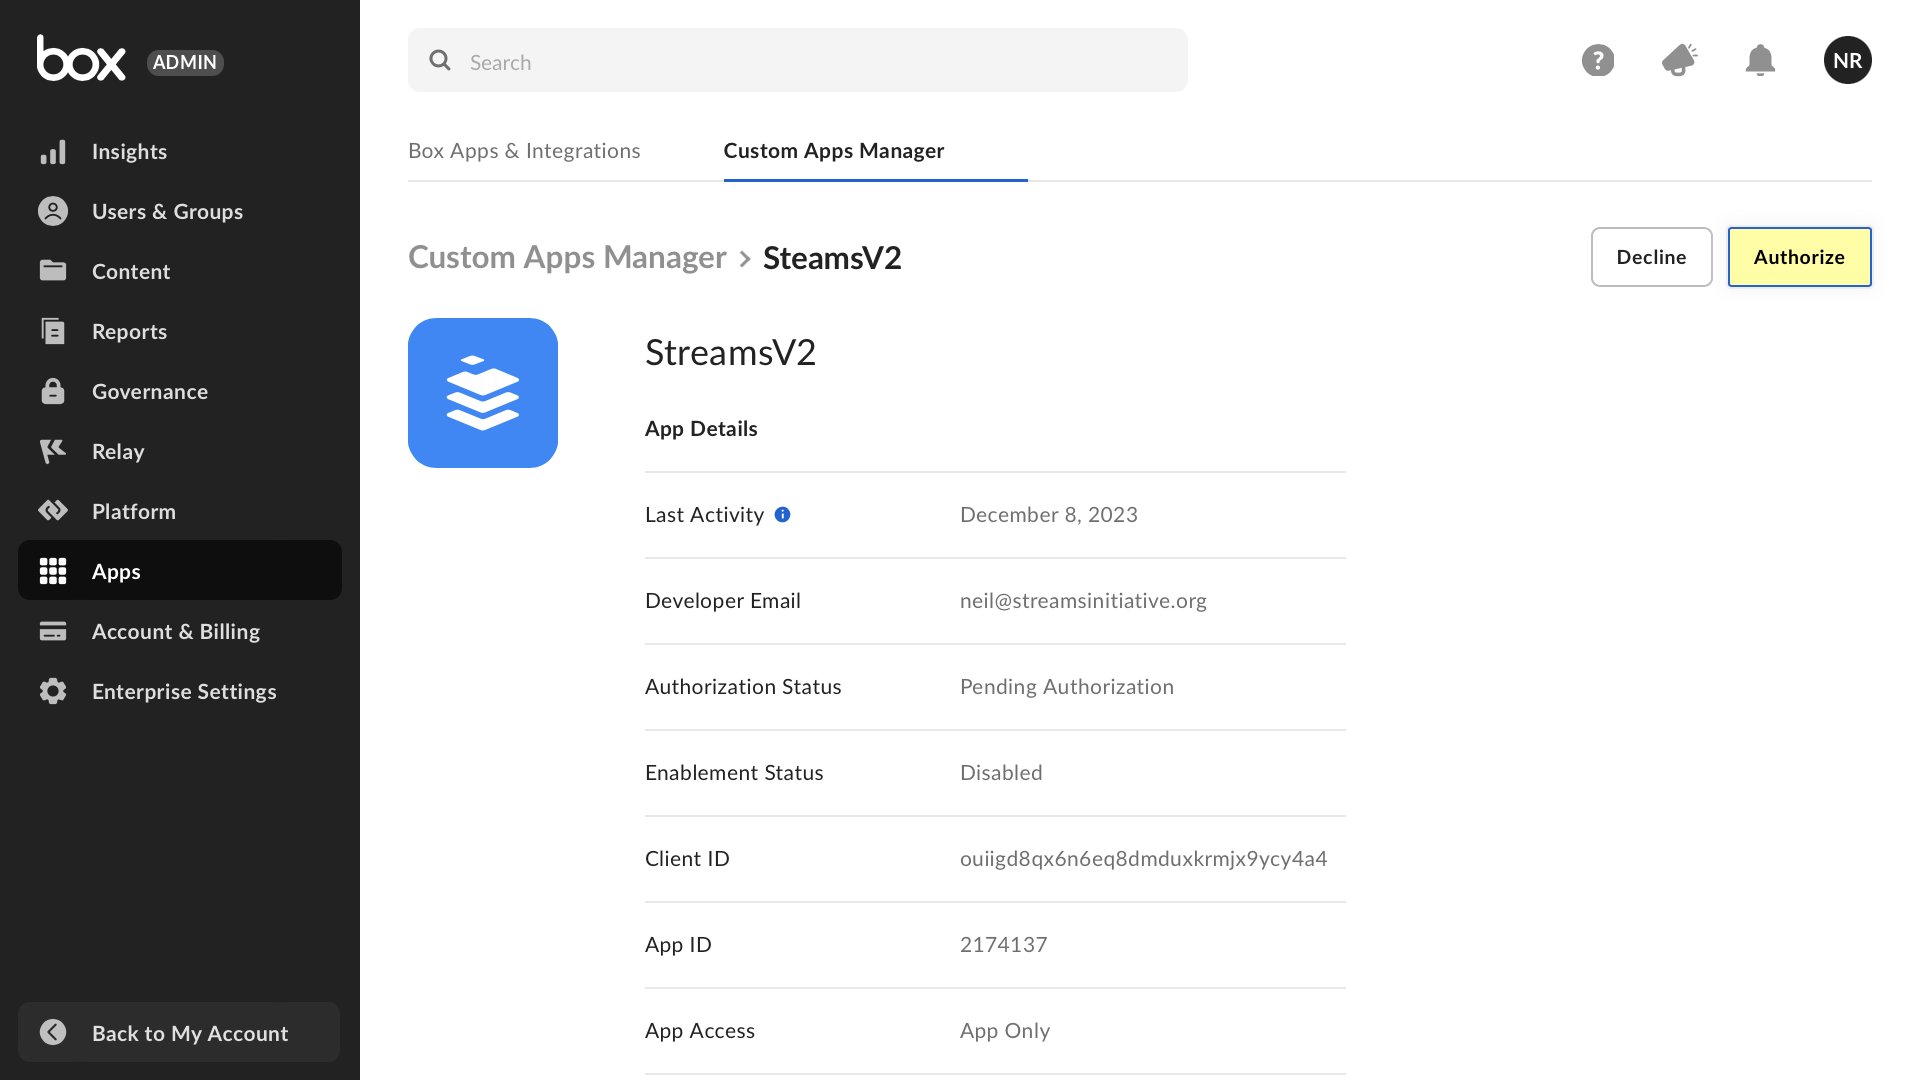
- Click StreamscriptV2 from the list - copy down the Pending Authorization status
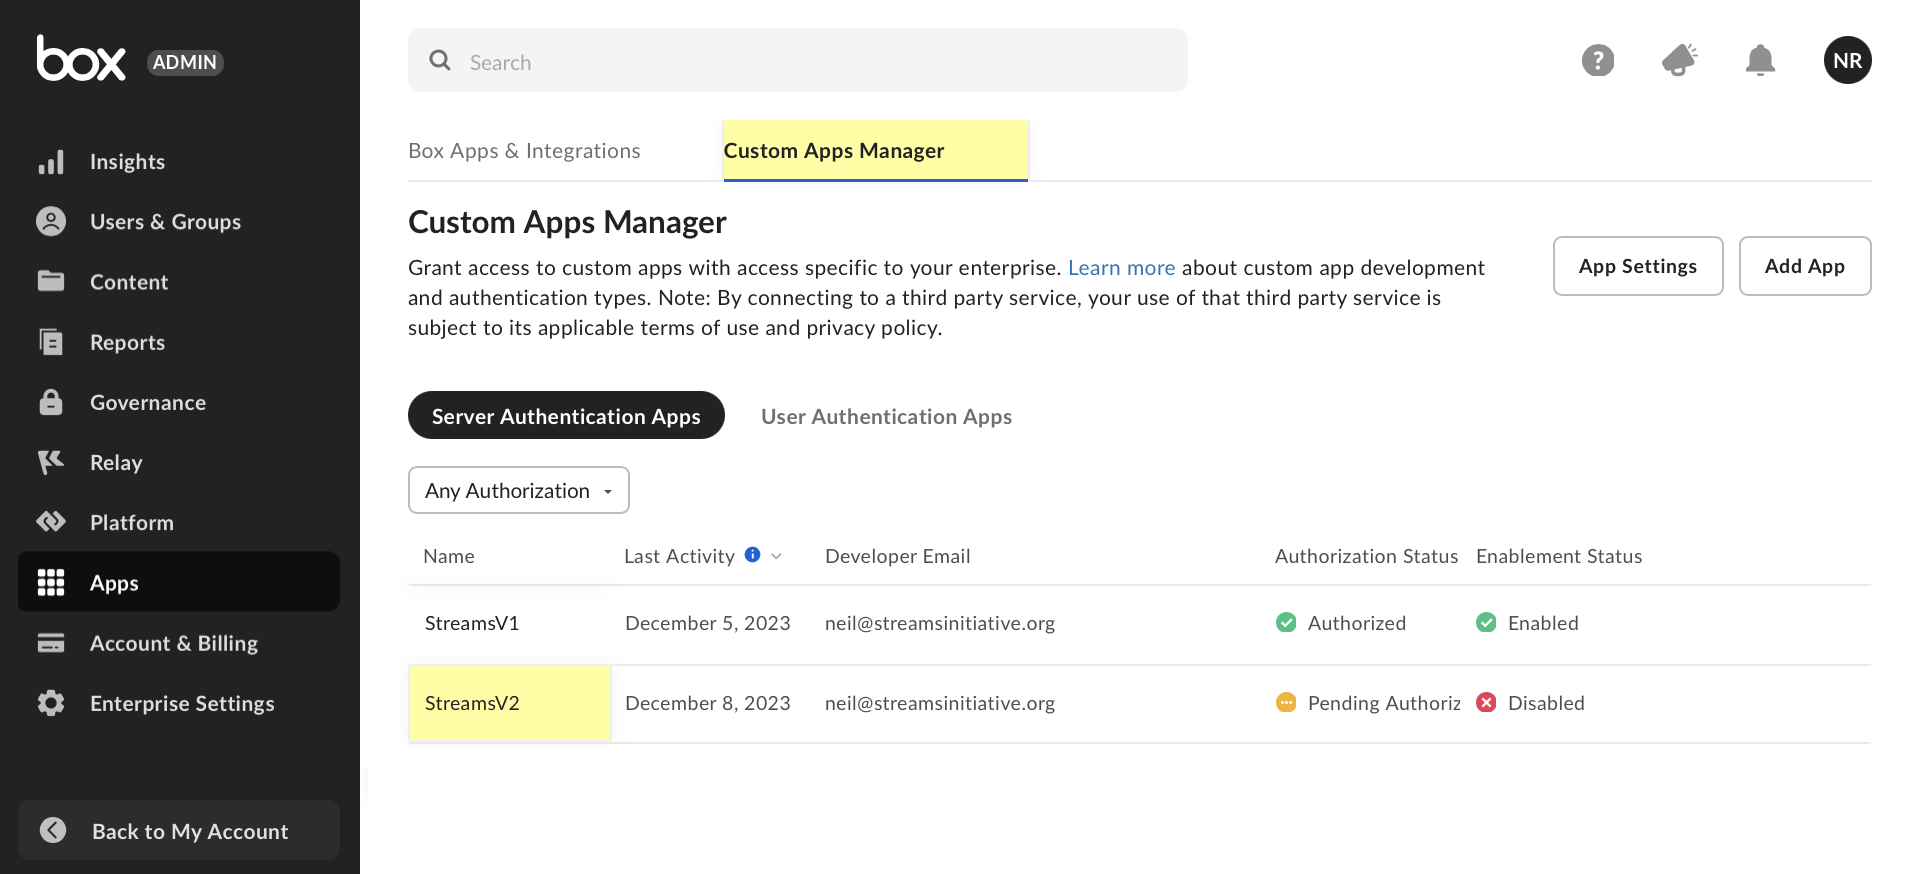
Click Authorize
Grant Access to your Proposals folder
Your app's service account must have specific access to your enterprise artefacts (files, folders, etc). For this recipe, grant the app full access to the 'Proposals' folder.
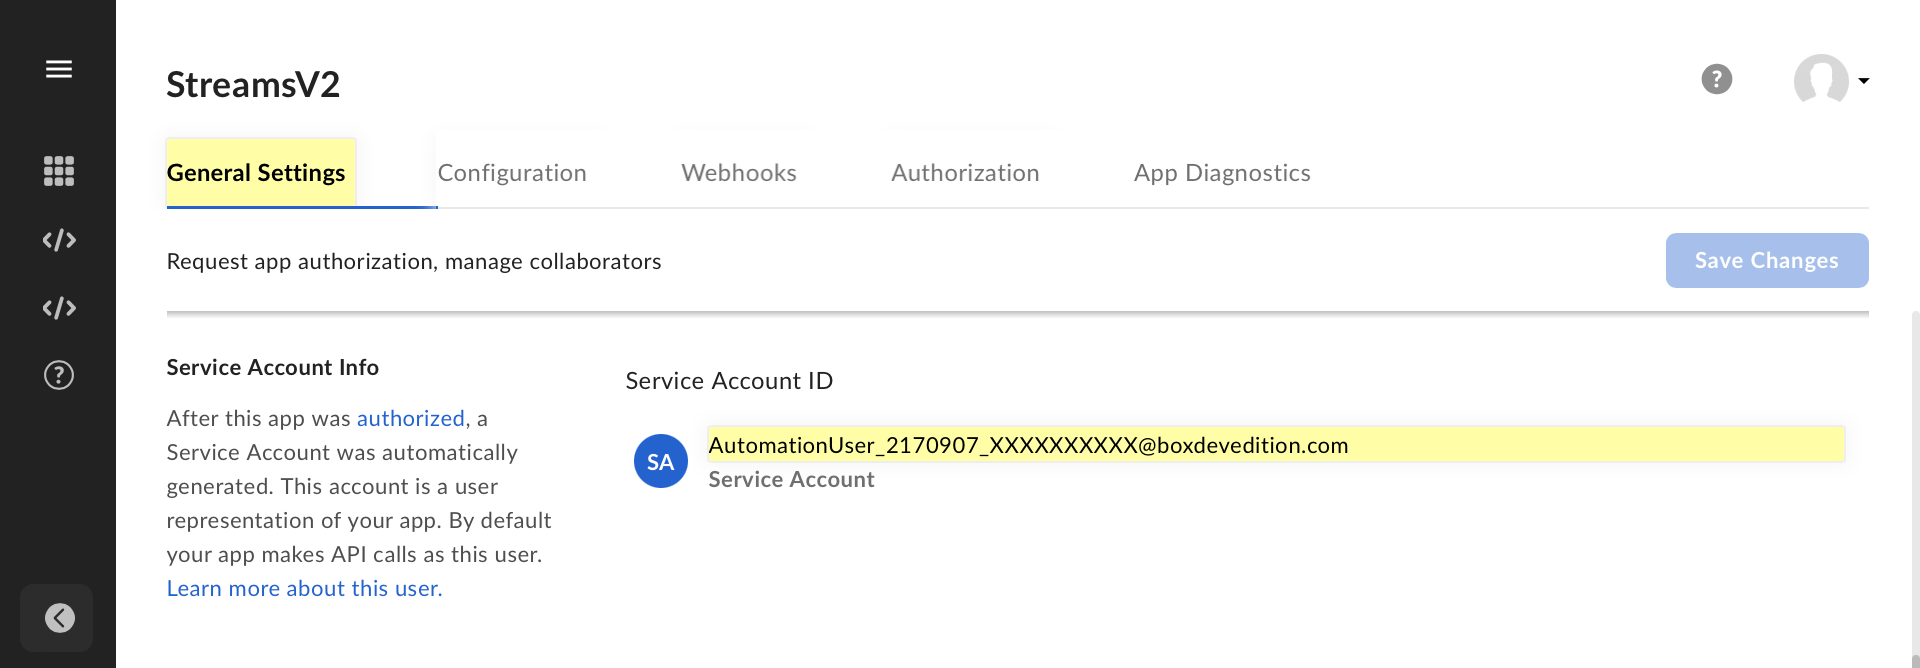
- Navigate to your App (the black area)
- Go to the General Settings tab
- Under the section Service Account ID, copy the Automation User email address
Return back to your Box workspace (the blue area)
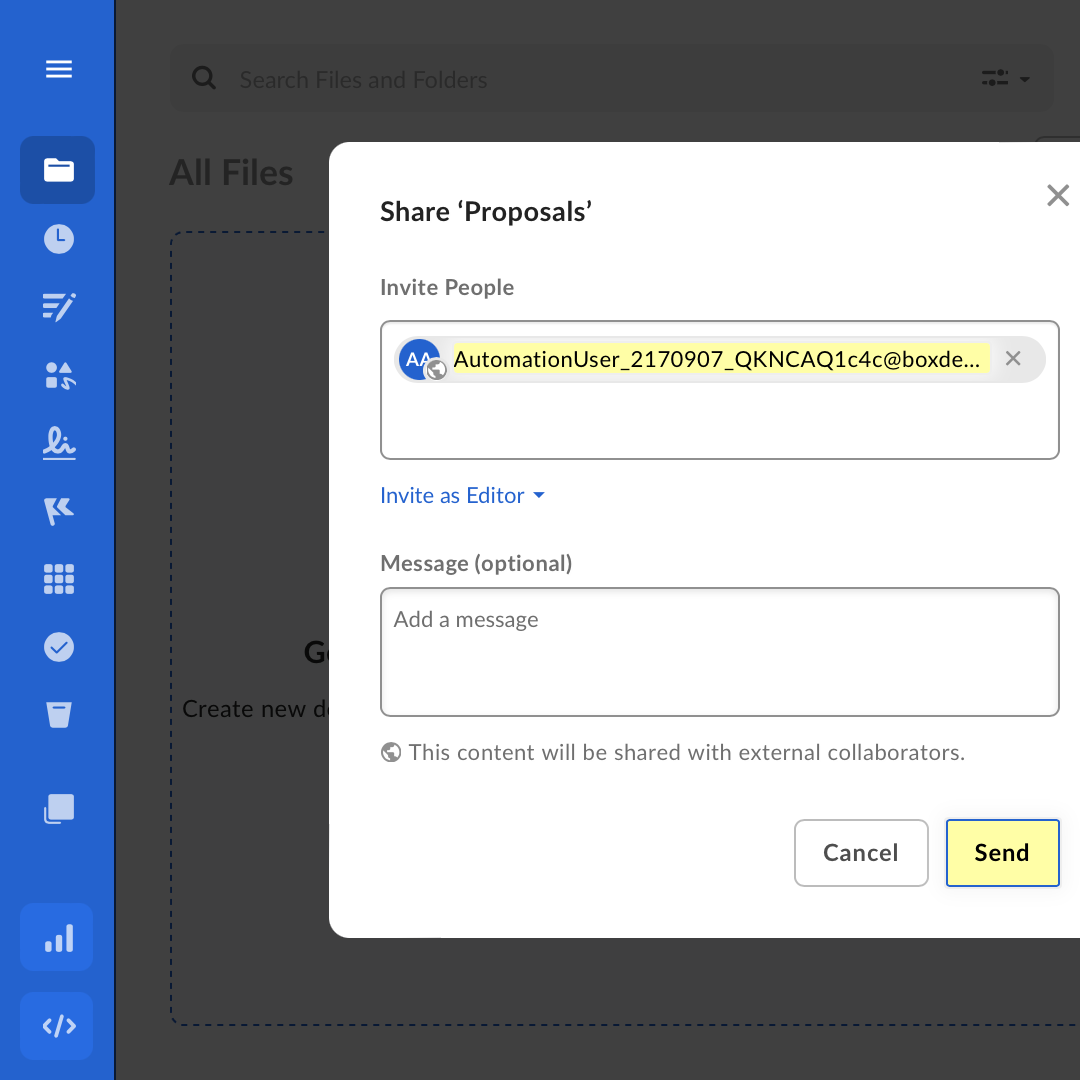
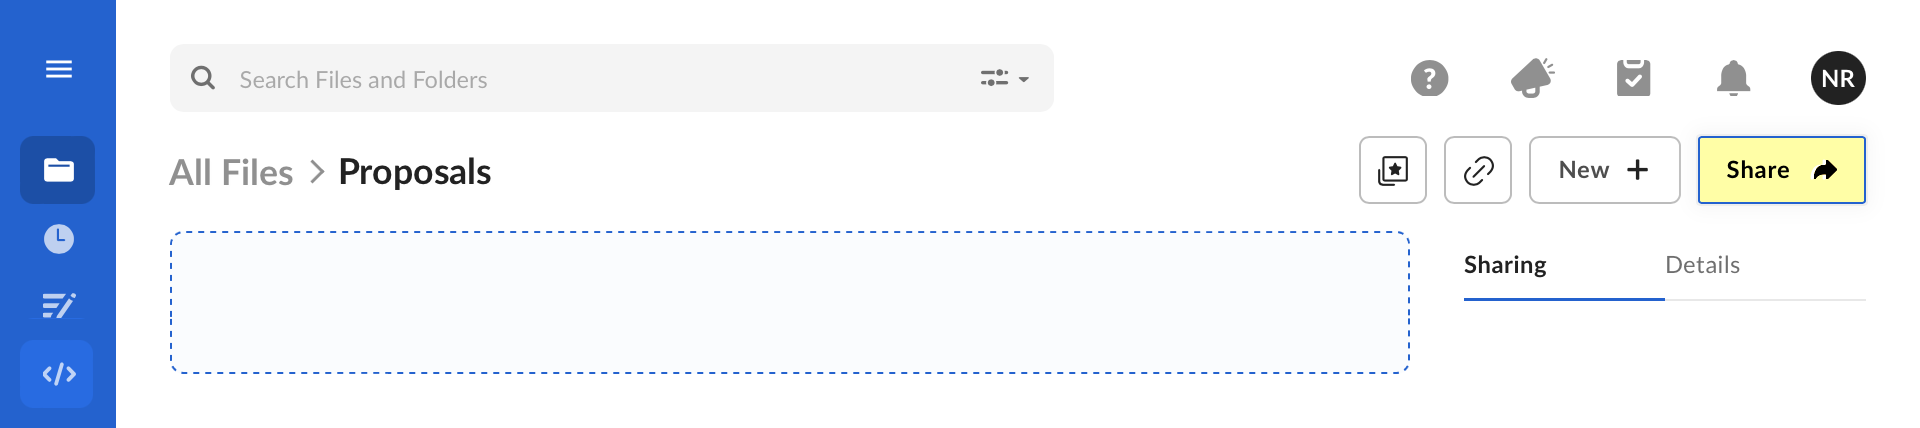
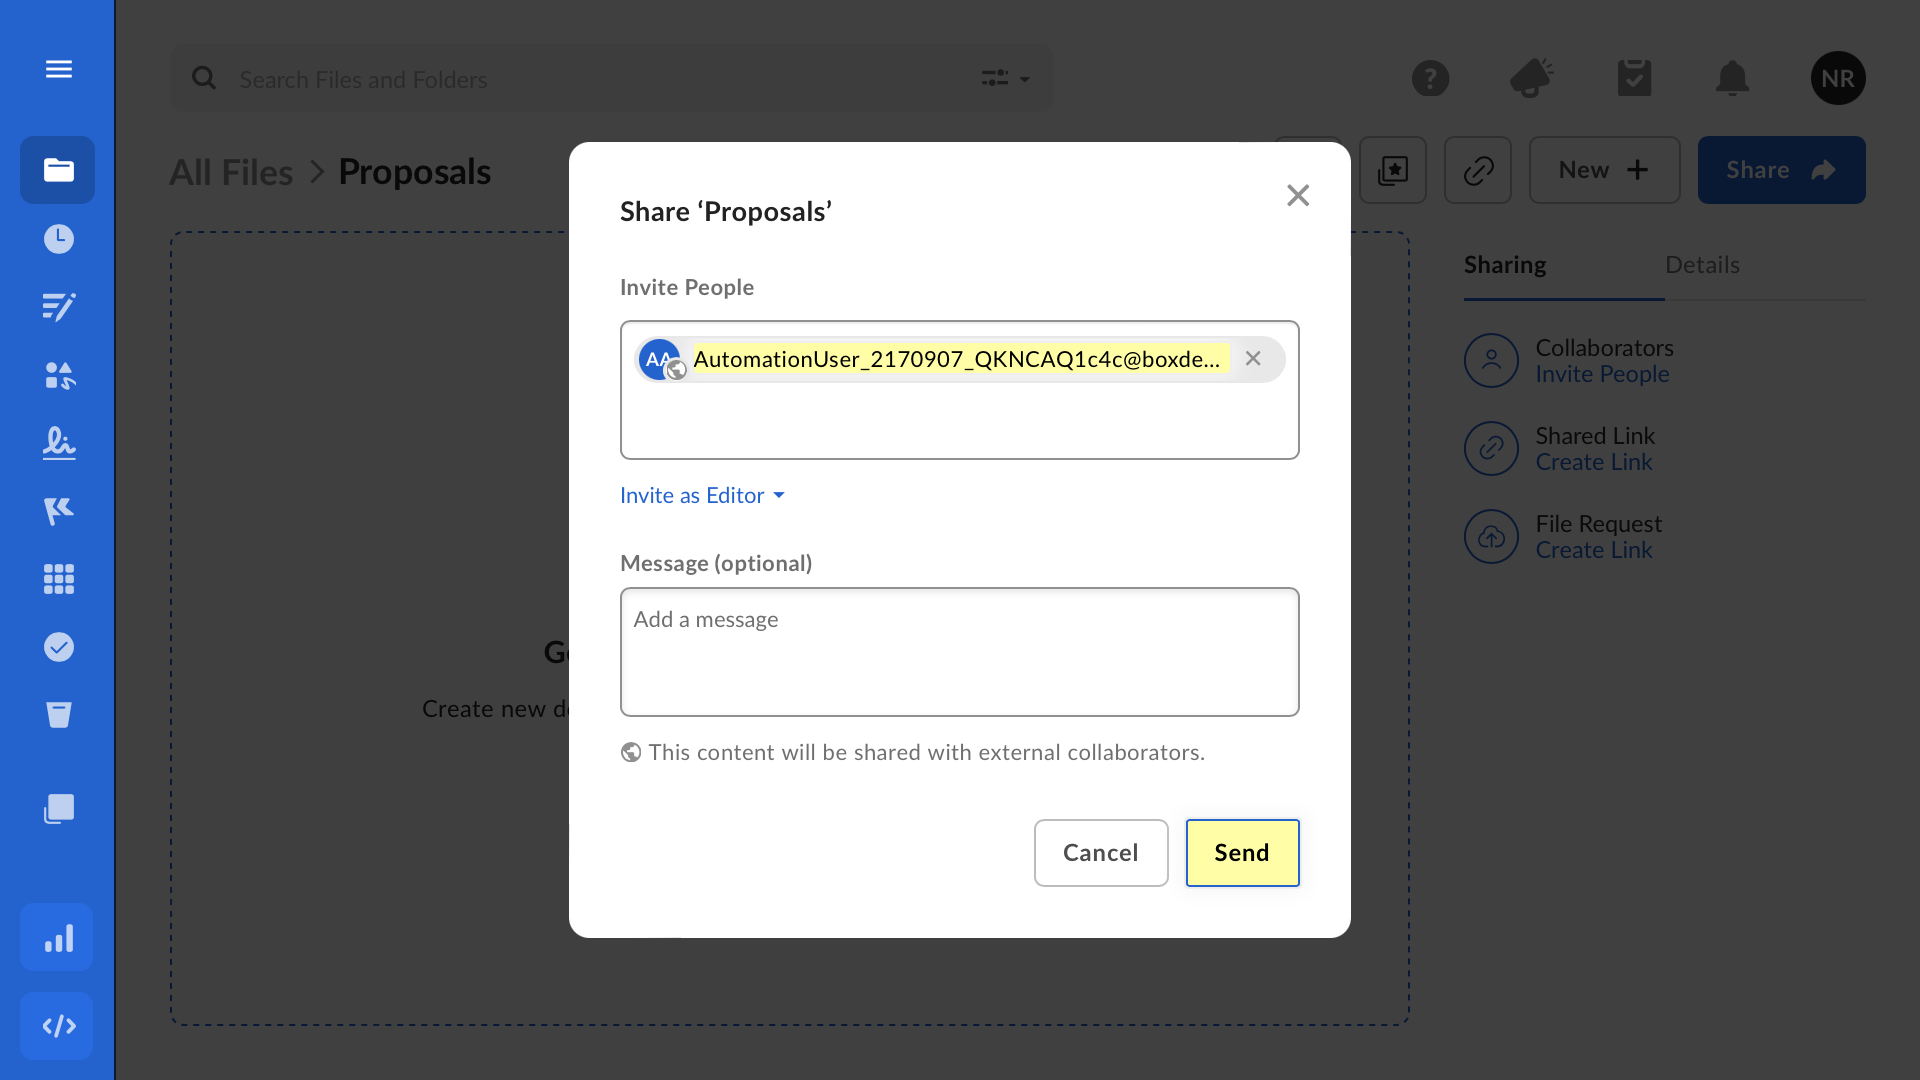
- Navigate to the Proposals folder
- Click Share in the top right
- Under Invite People in the popup, paste in the Service Account email address
- Click Send to grant visibility to the App
Configure a FILE.UPLOADED listener
Your app will notify Salesforce about every file uploaded to the Proposals folder. Return to the Developer Console to configure the Box webhook.
- In your app, go to the Webhooks tab
- From the Create Webhook dropdown, select V2
- URL Address: Paste the Webhook URL from the clipboard in Step 1
- Content Type: Click Choose an Item
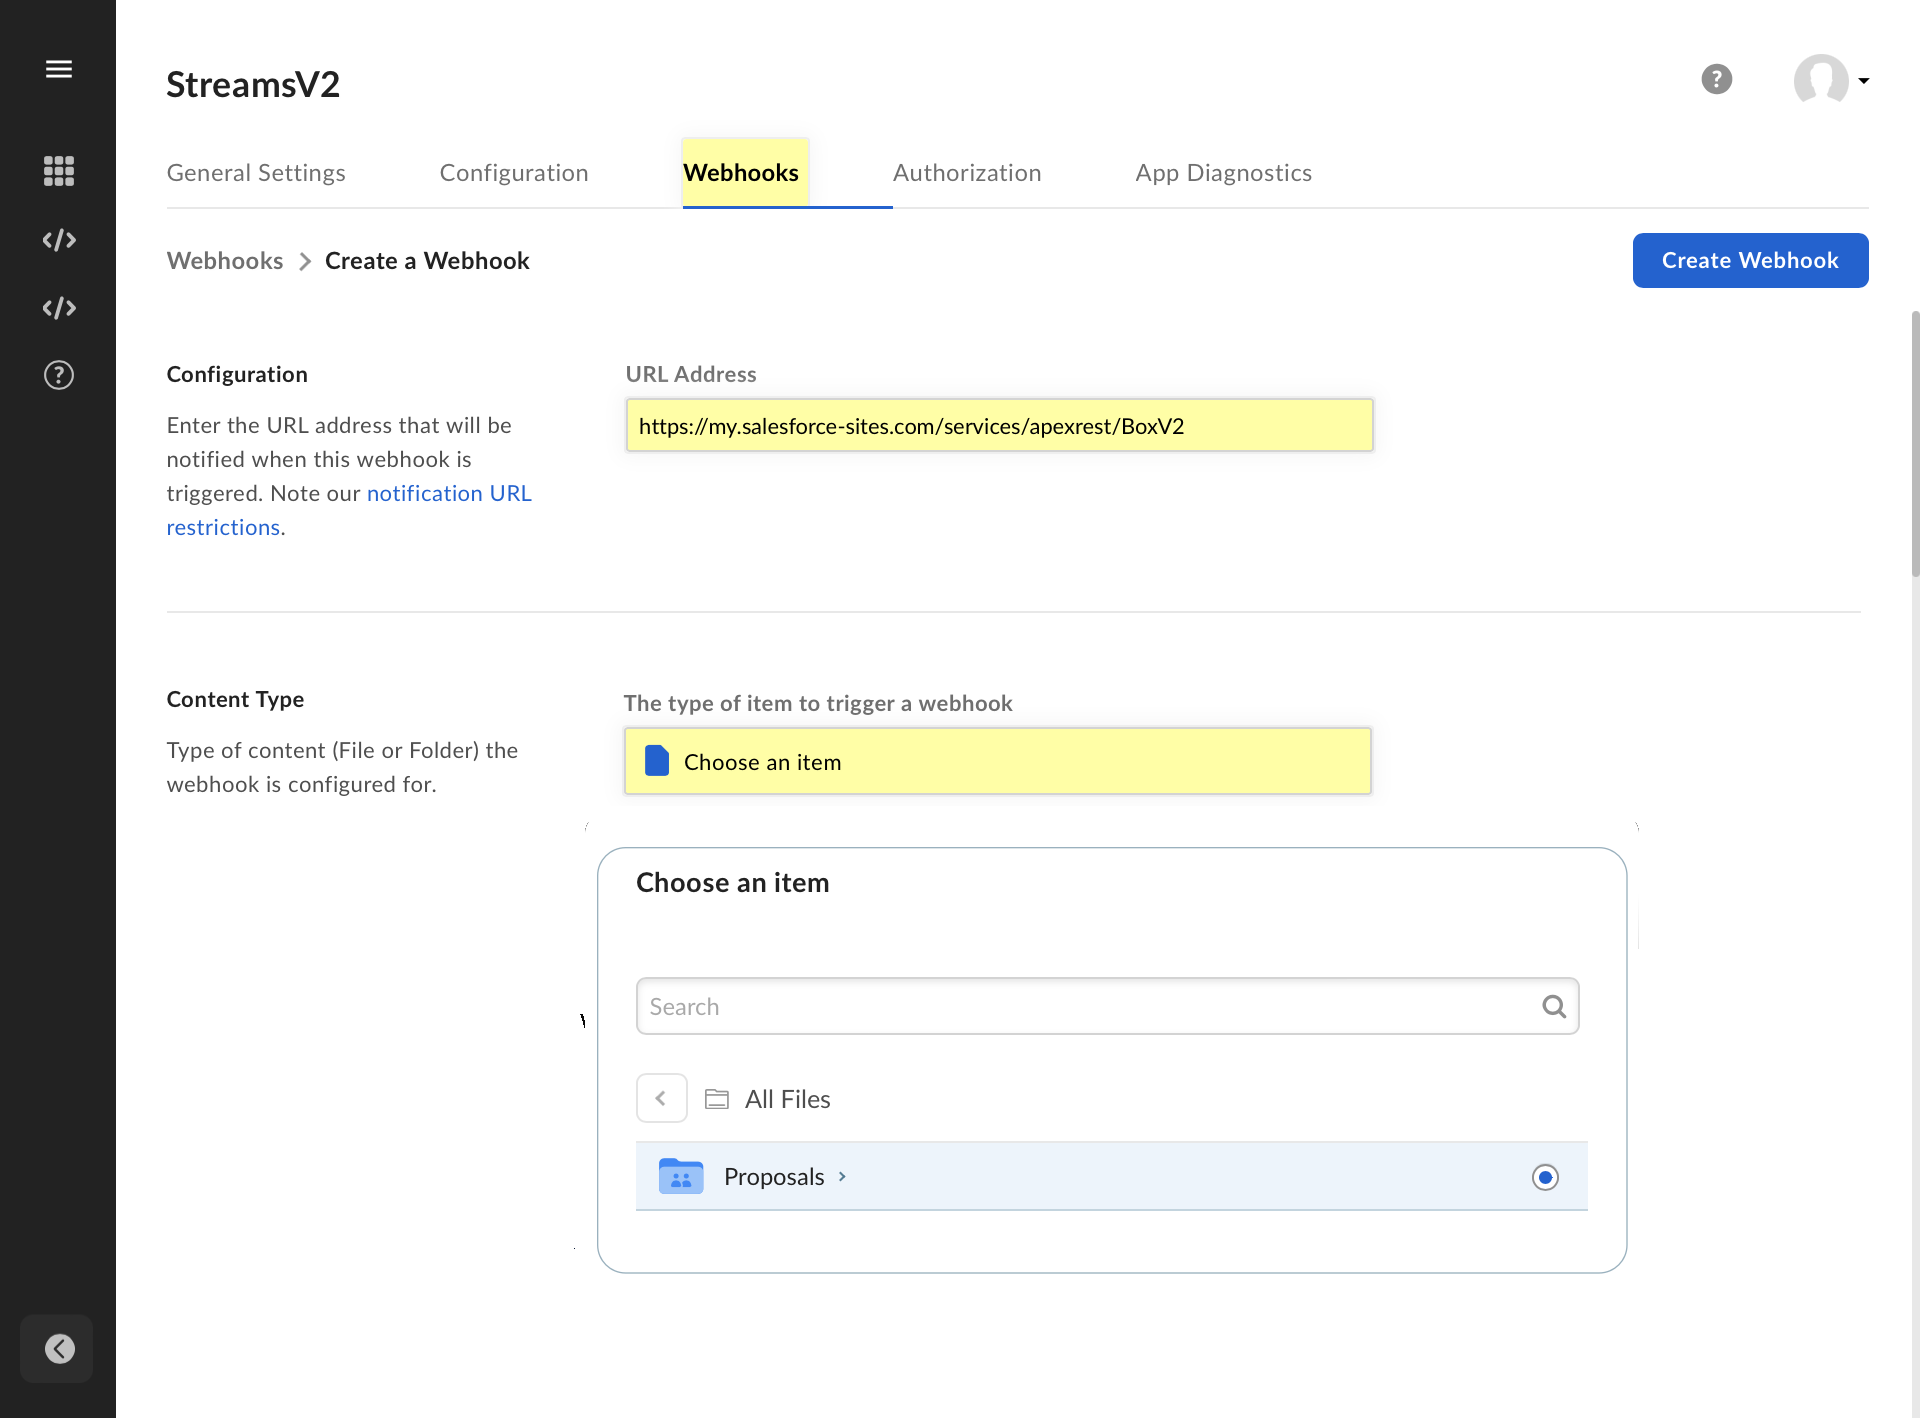
- Select the 'Proposals' folder by clicking the radio button
- Click Choose
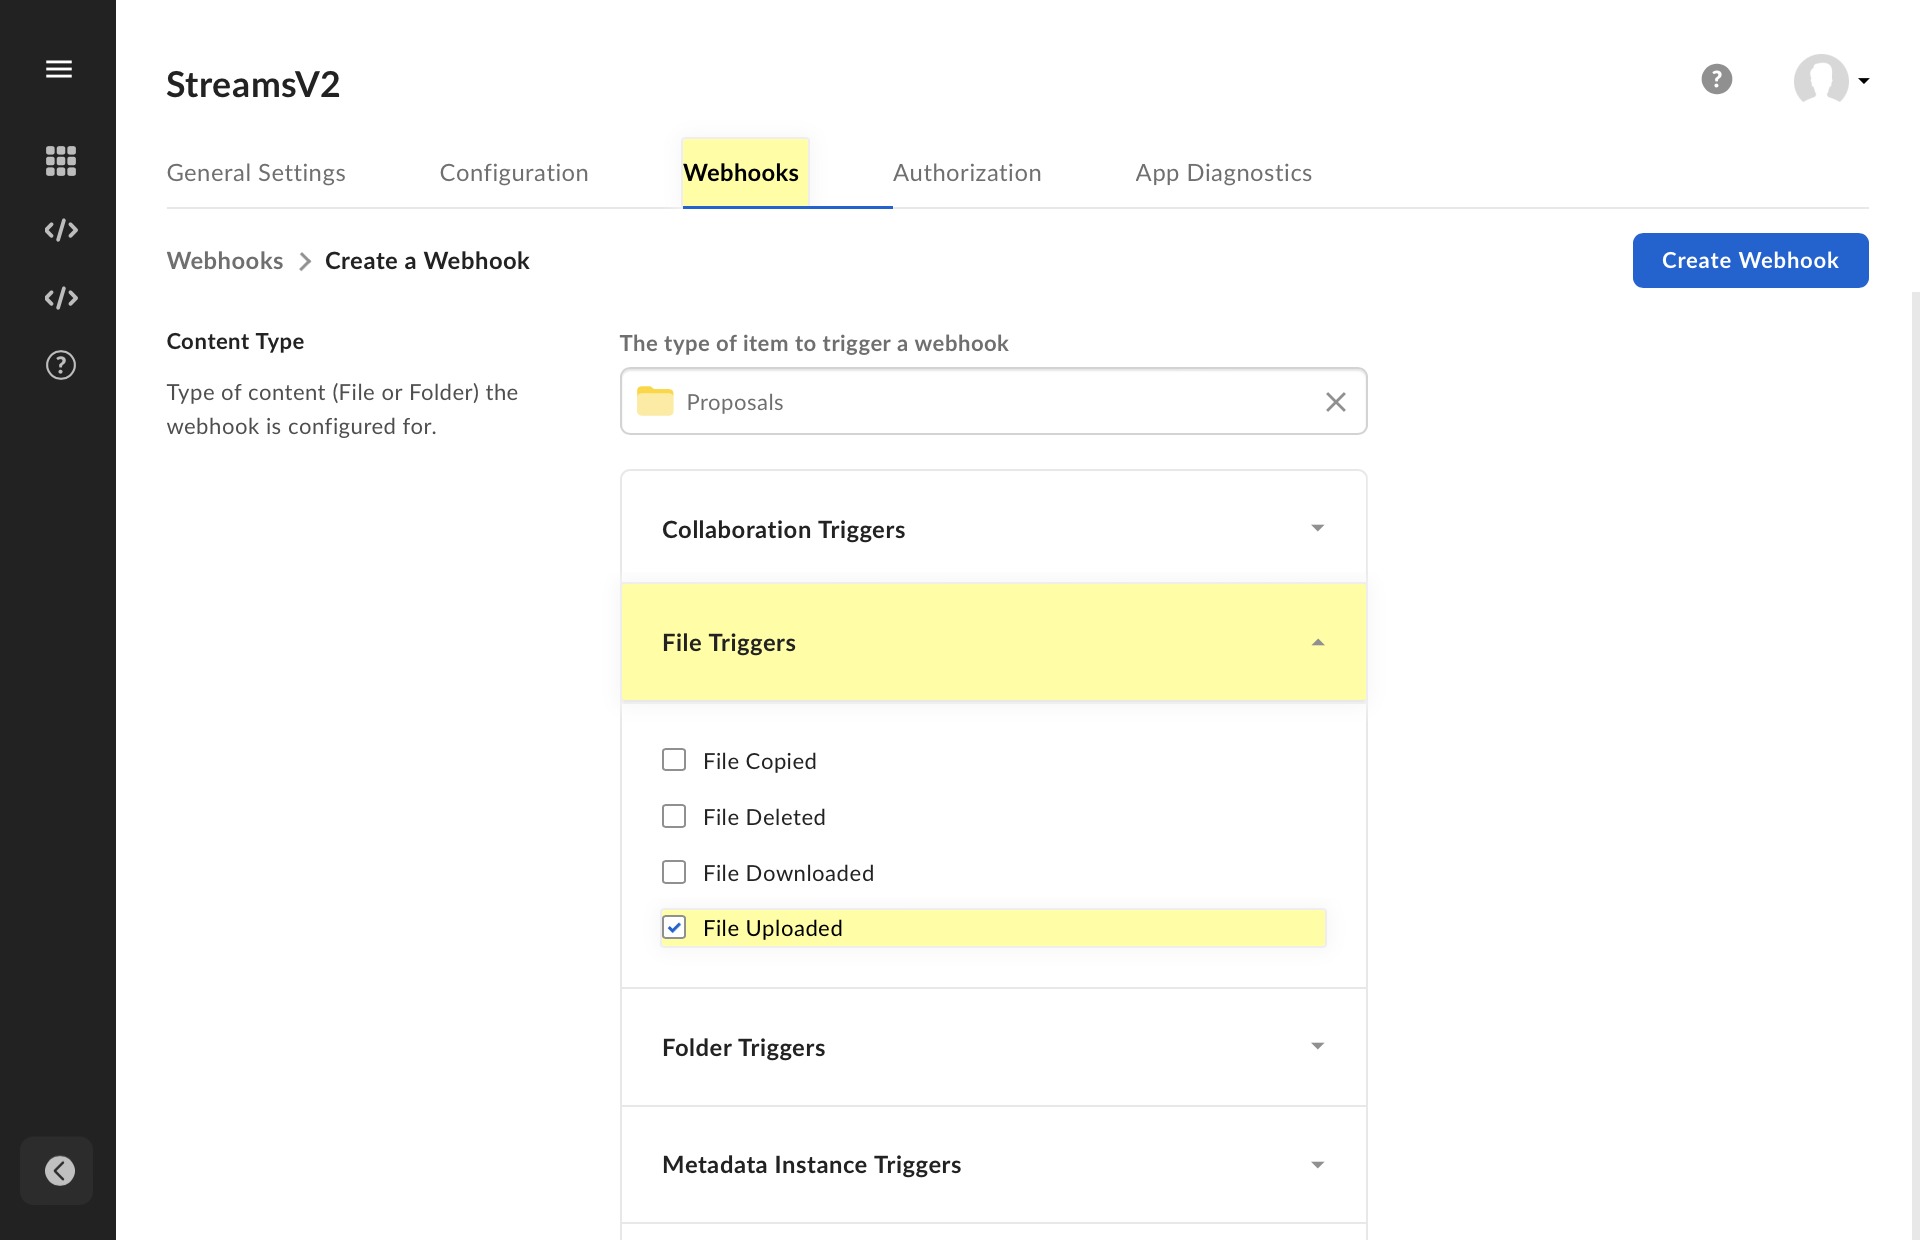
- Under File Triggers, select the File Uploaded event
- Click the Create Webhook button to finalise the configuration.
Step 3 - Upload files to test the Box integration
Before testing, enter the three parts of your Box credential in Salesforce.
In Box, open the Dev Console and navigate to your app:
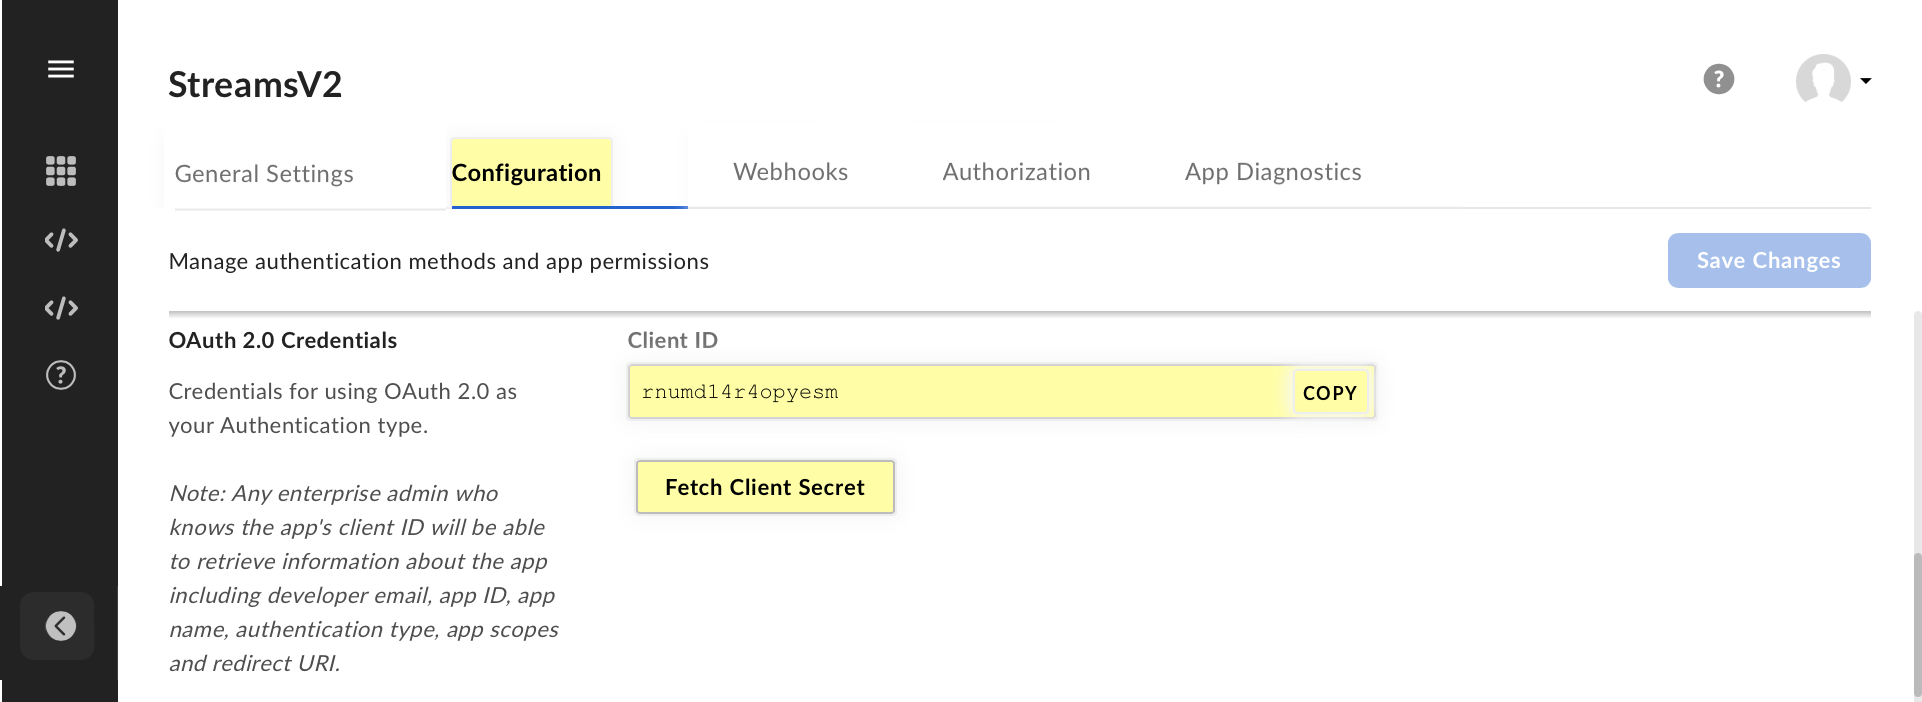
- Go to the Configuration tab
- Under the section named OAuth 2.0 Credentials, click Fetch Client Secret
- Copy and save your Client ID
- Copy and save your Client Secret
- Go to the General Settings tab
- Under the section App Info, copy and save your Enterprise ID
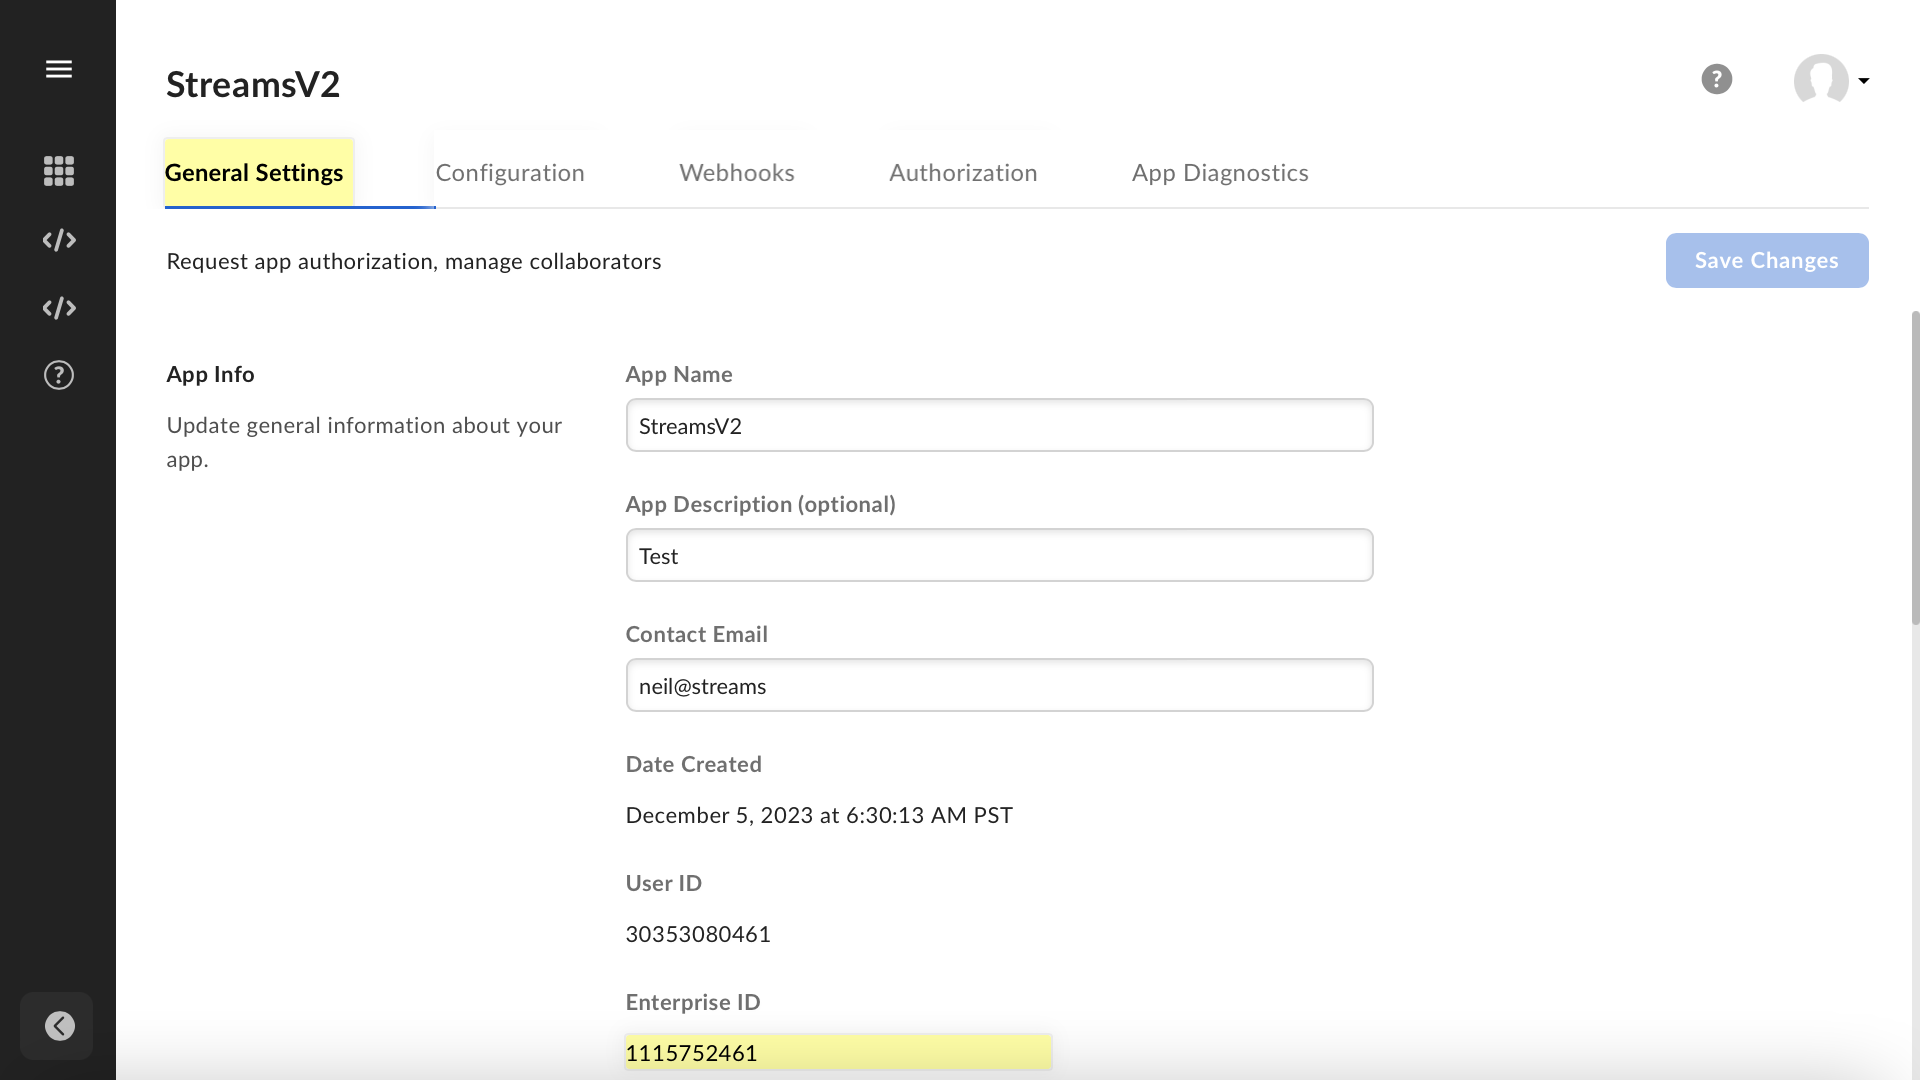
Log into Salesforce using a second browser tab.
Update your Box Named Credential:
- Navigate to Setup > Security > Named Credentials
- Click into https_api_box_com, then Edit
Username:client_id(paste your Client ID from Box)
Password:client_secret(also paste your Client Secret from Box) - Save your changes
Update your Script with your Enterprise ID:
- Go to the Streamscript app > Integrations tab
- Find your flow and click Open in Builder
- Edit the Streamscript action with your Enterprise ID
- Save the updated flow under a new version, then click Activate
# Streamscript
# Read the Box webhook
$enterpriseId = 'YOUR-ENTERPRISE-ID-HERE'
Return to your Box workspace. From the blue navigation menu, click Files then the Proposals folder.
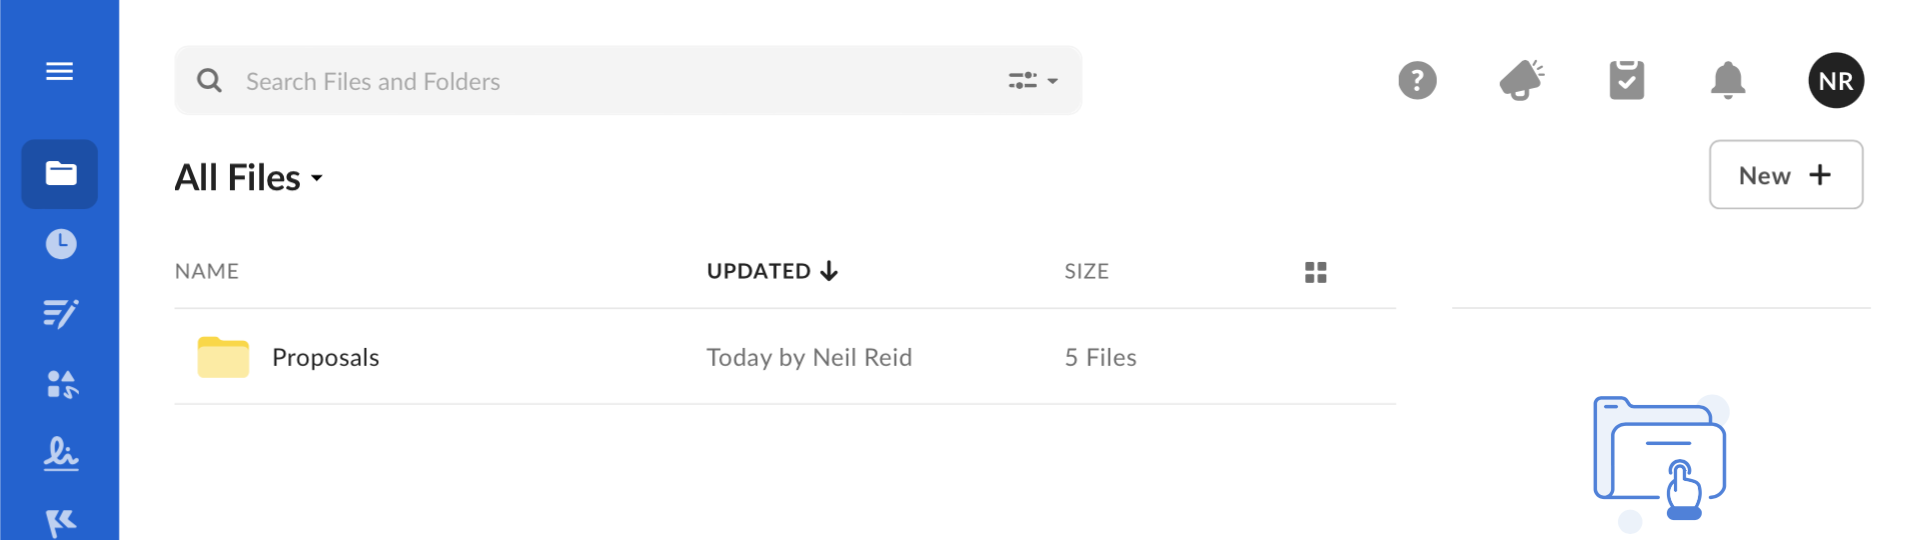
Drag and drop a test file into the folder to upload it.
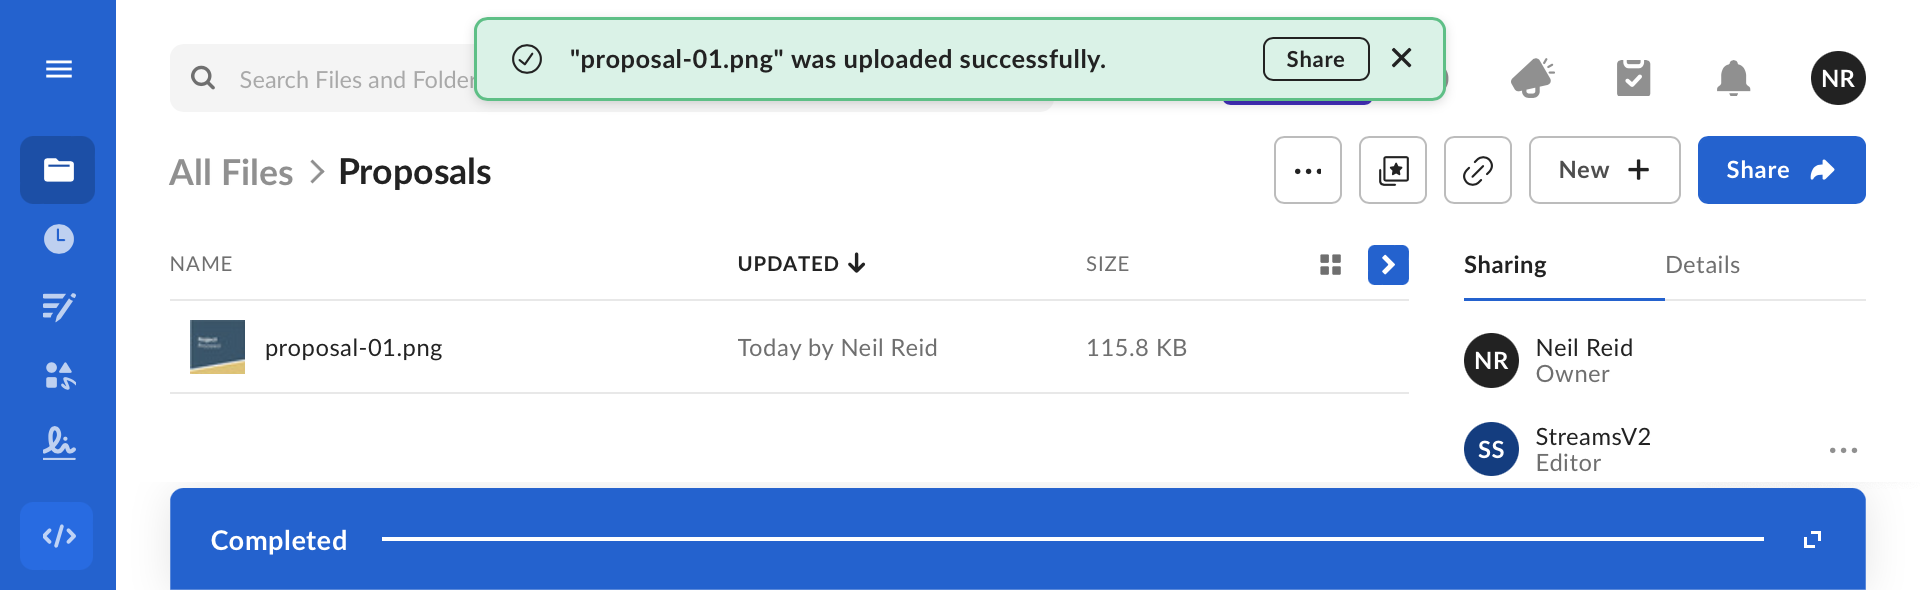
Return to Salesforce.
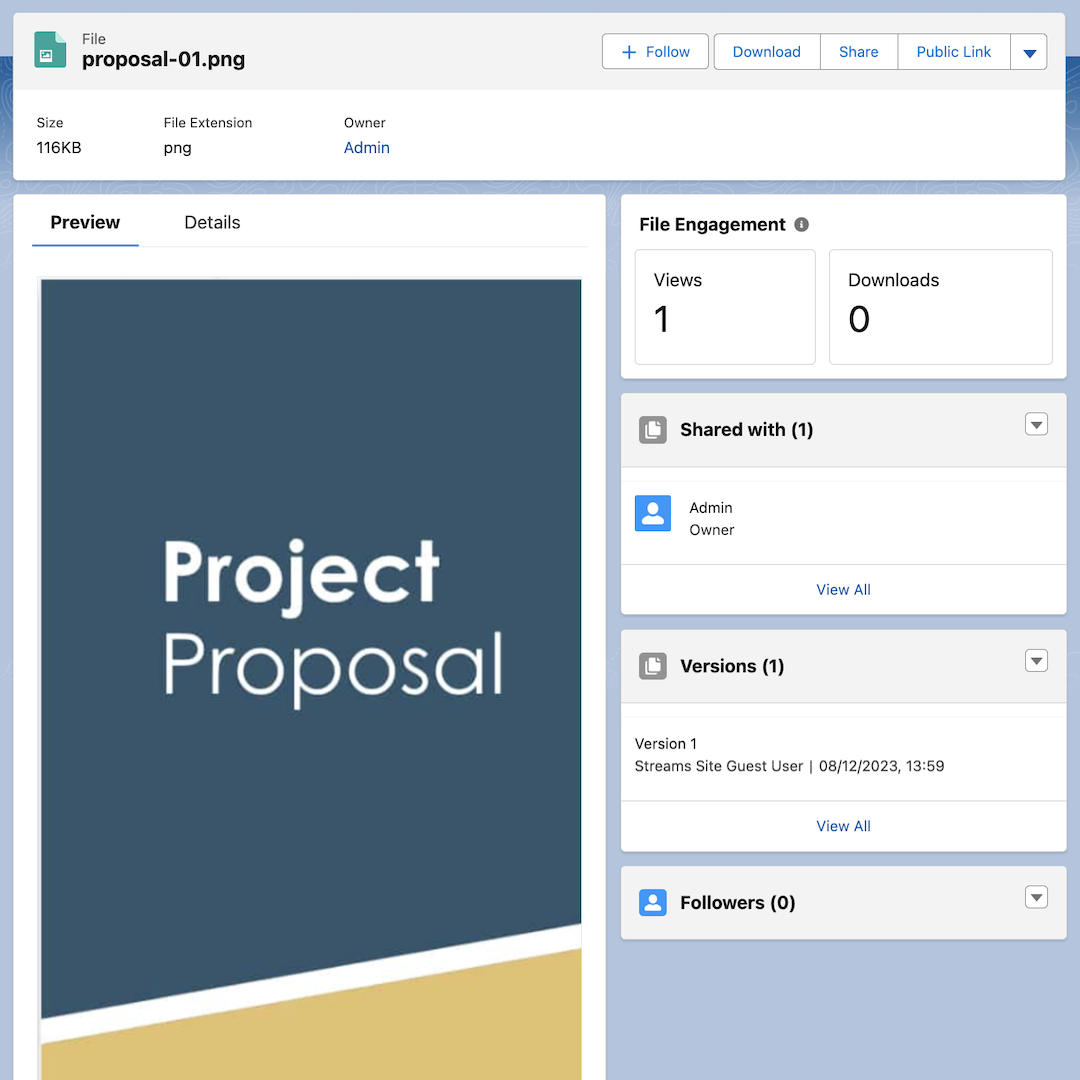
Go to the Files tab. You will find a copy of the file that was uploaded to Box.
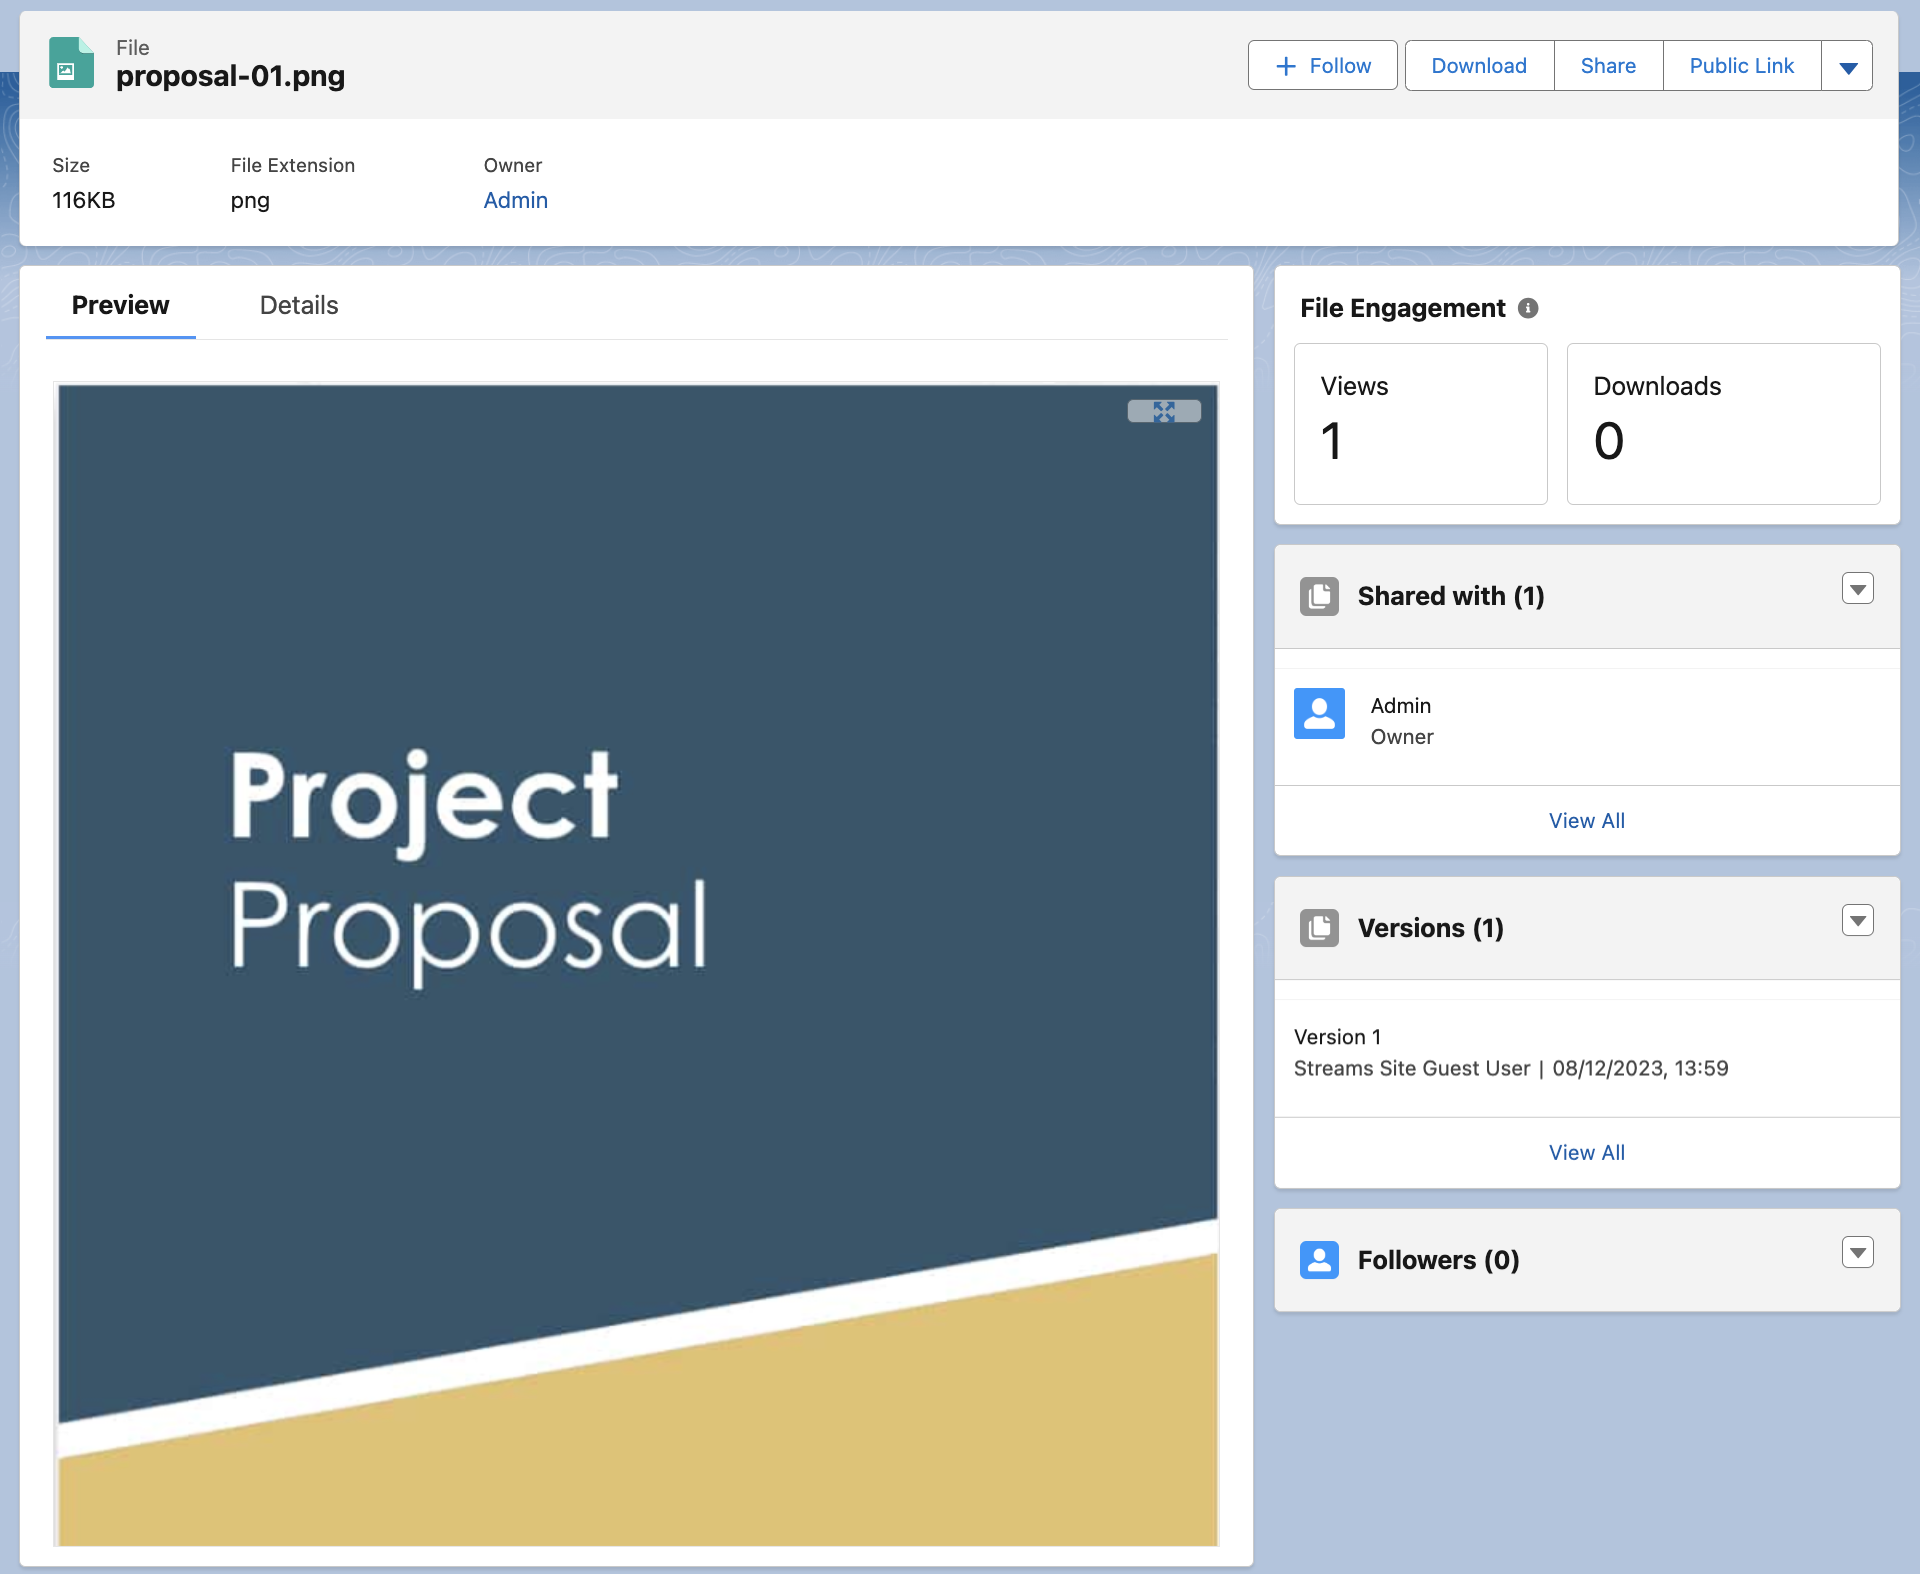
The recipe is complete! You now have a realtime integration, it automatically syncs files from Box into Salesforce. It works without user interaction and needs no periodic token refresh.